Reviewed and updated: October 30, 2026
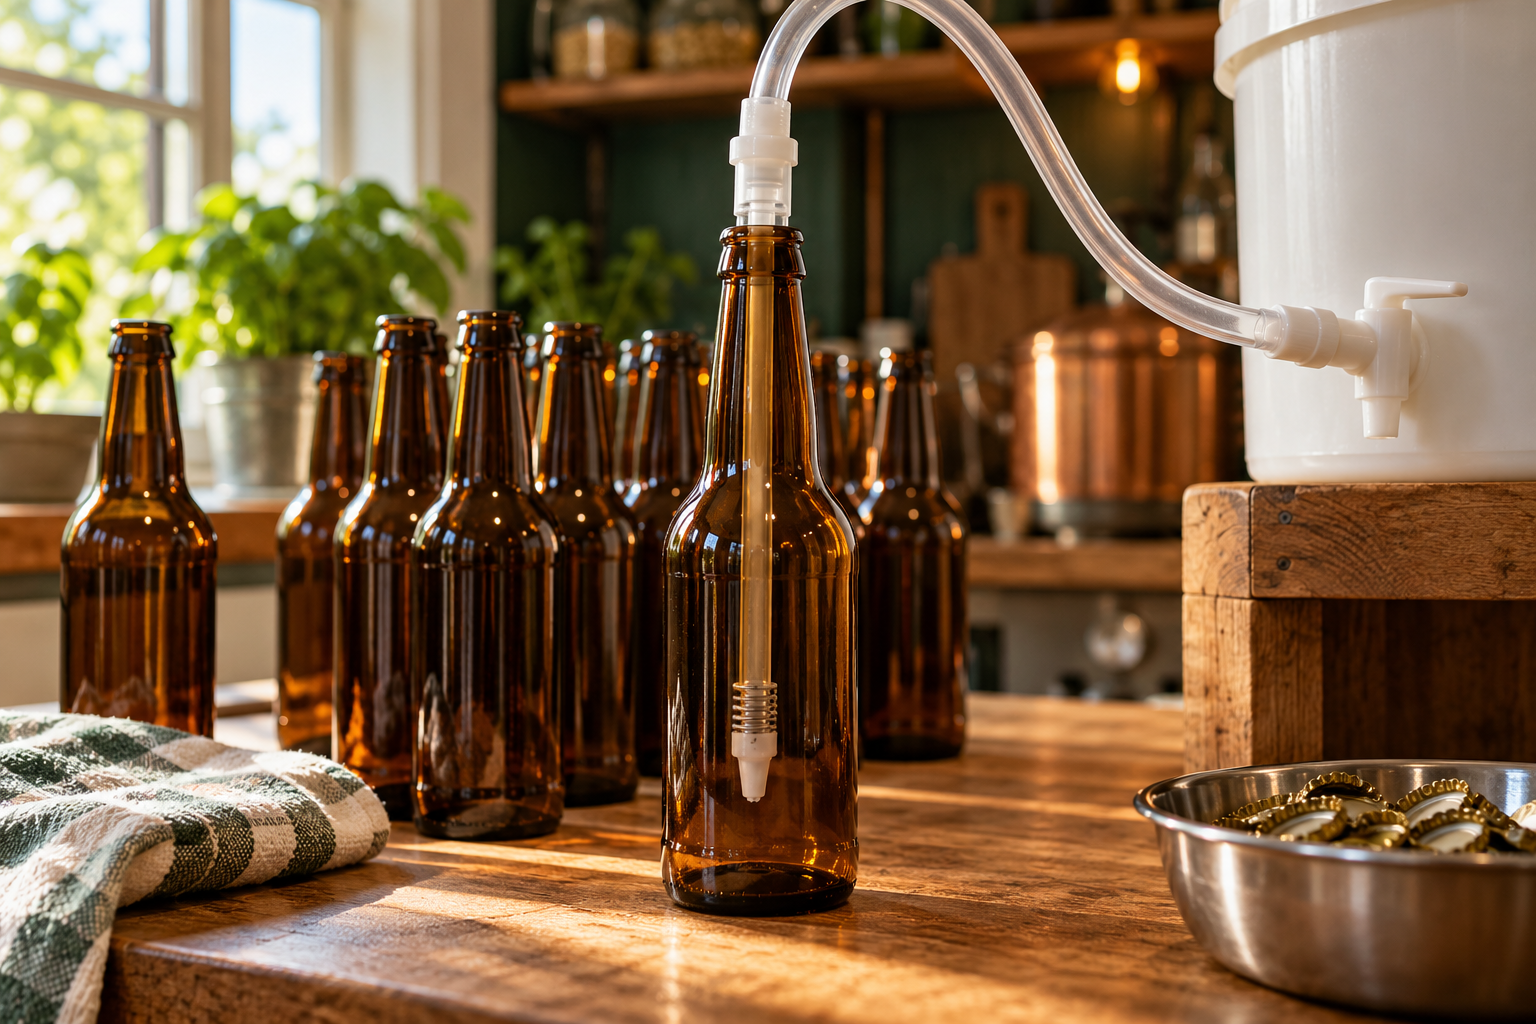
A spring-tip bottle filler can make a small homebrew bottling session easier to control than pouring directly from a spigot. It is a simple tool, but the connection, valve, cleaning access, and bottle height all matter. Northern Brewer’s Spring Tip Bottle Filler is a useful example for evaluating that format. It should be judged as one part of a careful bottling process rather than a shortcut around sanitation, stable fermentation, or accurate priming.
This guide is a specification-based buying and setup guide, not a claim of hands-on testing. Choose it only if its dimensions and connection suit the equipment you already own. A different filler may be more appropriate for a pressure-transfer system, unusual bottle neck, or larger production routine.
Compare the options
Northern Brewer Spring Tip Bottle Filler 42376
View Northern Brewer Spring Tip Bottle Filler 42376 on Amazon (paid link)
Know which filling method you are buying
The Northern Brewer Spring Tip Bottle Filler, SKU 42376, is described by its supplier as a plastic wand with a spring-loaded valve, a 3/8-inch outside diameter, and a length of 13 inches. It is intended for straightforward bottle filling and is commonly used with a bottling bucket. Pressing the tip against the bottle bottom opens the valve; lifting it lets the valve close. That is different from a counter-pressure filler used with carbonated beer. Do not attach a simple gravity wand to a pressure source unless the equipment’s instructions explicitly allow that configuration. Match the complete product name rather than buying a similarly shaped accessory with a different connection.
Measure the connection instead of guessing
Outside diameter and tubing inside diameter describe different things. Check the filler, hose, and spigot specifications together rather than assuming any part labeled ‘3/8 inch’ will fit every other part. Existing tubing can become stretched, cloudy, brittle, or loose with age. A connection that held last year may now drip or admit air. Use only suitable food-contact tubing and fastening methods permitted for the equipment. Avoid forcing a tight hose onto a fragile plastic fitting or warming parts in an uncontrolled way. If you need an adapter, confirm its dimensions and cleaning access before ordering. A cheap filler becomes inconvenient when it requires several uncertain connections.
Check bottle height and working space
Set an empty bottle on the work surface and compare the filler length with the bottle’s usable depth. Leave enough clearance to insert and remove the wand without striking the rim or tipping the bottle. A tall narrow-neck bottle can be awkward under a low cupboard. Keep the bottling bucket stable at a suitable height and provide enough hose length without creating loops across a walking route. Use intact bottles made for the intended beverage and carbonation method. Chips, cracks, unfamiliar decorative bottles, or containers with uncertain pressure suitability belong outside the bottling lineup. An accessible work surface is more valuable than squeezing the setup into a crowded corner.
Look closely at the valve and cleaning access
A valve that traps dried beer can become sticky or leak between bottles. Before buying, check how the exact tip can be inspected and cleaned, and whether small seals or springs can be replaced. Follow the supplier’s disassembly directions rather than prying parts apart experimentally. Put small pieces in a clean tray so they cannot disappear down a sink. Look for cracks, rough surfaces, worn seals, or a spring that no longer moves reliably. Do not assume sanitizer will remove visible residue: cleaning and sanitizing are different steps. Retire a damaged part when it cannot be cleaned or operated reliably, rather than accepting a persistent drip as normal.
Rehearse the setup with suitable clean water
A short water rehearsal can reveal a loose connection, unstable bucket, or awkward bottle arrangement before beer is involved. Follow the equipment’s cleaning and preparation instructions afterward. Open the spigot cautiously, insert the filler without scraping the bottle rim, and observe whether the flow stops when the tip is lifted. Keep a clean spill tray beneath the working bottle. Do not leave the spigot open with the hose unsecured. If the valve sticks, stop and identify the cause before transferring beer. The rehearsal is a mechanical check, not proof that the system is sanitary or that the beer is ready to package.
Keep fermentation and priming decisions separate
A convenient wand does not prevent overcarbonation. Confirm fermentation completion using a suitable established process, calculate priming accurately for the actual packaged volume, and follow the recipe and equipment guidance. Never bottle simply because airlock activity has slowed. Avoid adding extra sugar to compensate for an uncertain fill. Pressure problems can damage bottles and injure people, so treat unexplained carbonation changes seriously. If you are new to bottling, work from a reliable brewing procedure and get experienced help when measurements do not make sense. The filler controls liquid flow; it does not determine the beer’s stability, sanitation, or safe carbonation level.
Fill gently and manage headspace consistently
Keep the valve near the bottle bottom so beer enters with limited splashing. Maintain a steady setup rather than repeatedly lifting the wand and restarting the flow. Removing the wand displaces liquid and changes the final level, so practice and follow the fill guidance for the exact bottle and process. Do not deliberately overfill to eliminate every air space, or leave widely different levels without understanding why. If the flow slows, check for an appropriate cause instead of shaking the bucket and stirring sediment into the transfer. The guide to reducing oxidation while bottling covers the broader handling choices that remain important with any filler.
Decide whether a simple wand fits your routine
This style suits someone who wants a compact, manually controlled accessory for ordinary gravity bottling and is willing to clean the small valve carefully. It is less suitable when the main requirement is filling already carbonated beer under controlled pressure. Compare the complete system rather than ranking fillers by appearance alone. Consider the number of bottles, connection reliability, spare seals, cleaning access, and the reach of the person using it. A more elaborate filler is not automatically better for a small batch. Conversely, buying the simplest wand solely to save money can create frustration when it does not fit the transfer method.
Inspect the exact listing before ordering
The product recommendation below uses the full supplier name and model description so you can compare the correct item. Confirm dimensions, connection, included parts, seller information, and return terms in the current listing. A photograph of a wand beside a bucket does not necessarily mean the bucket, hose, or bottles are included. Search results can show accessories with similar names, so read the description rather than selecting the first image. No price or stock claim is needed to make the decision. Buy only when the listed item answers the practical fit questions you have already checked at the workbench.
Finish with a clean and orderly bottling station
After the batch, clean the filler and hose promptly according to their instructions, rinse as required, and allow parts to dry in a protected place. Store the wand so its tip cannot be crushed or contaminated by loose tools. Label the equipment if you keep separate sets for different brewing processes. Check bottles, caps, and the capper as part of the next setup; the bottle-capper guide is a useful companion. Reliable bottling comes from a series of small repeatable actions. A suitable spring-tip filler supports those actions, but careful preparation and sensible equipment matching still do most of the work.