Reviewed and updated: November 11, 2026
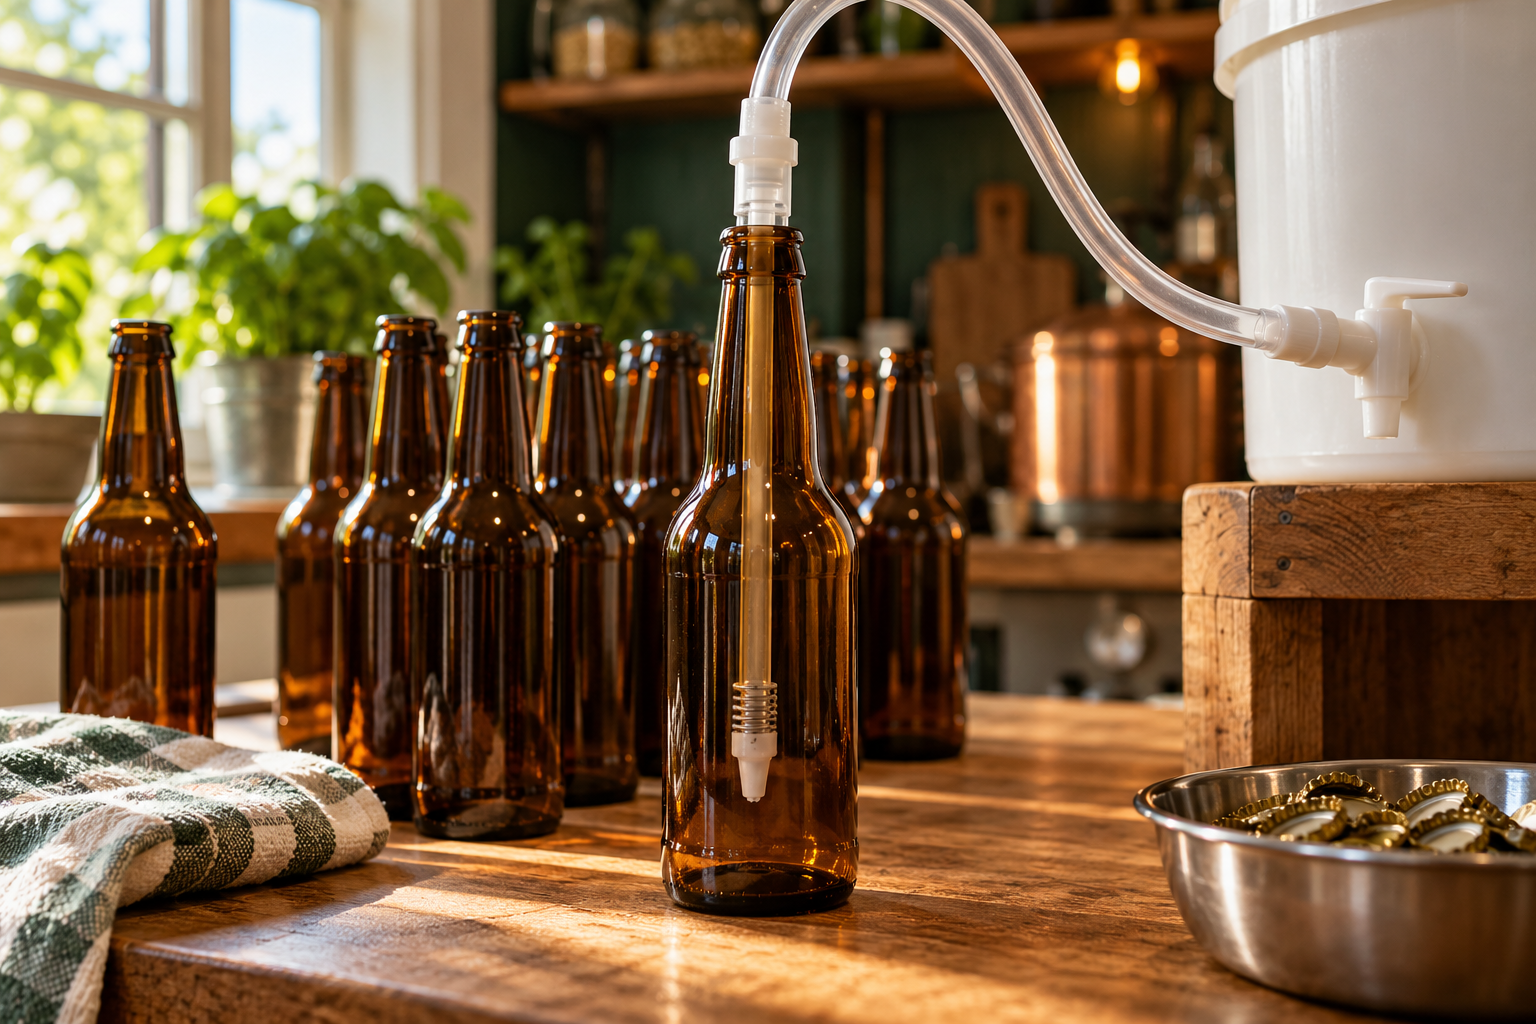
If you bottle homebrew from a bucket, a spring-tip filler is an easy way to give yourself more control between bottles. We’d keep it simple: choose a wand that fits your hose, reaches into your bottles comfortably, and comes apart for cleaning. The Northern Brewer Spring Tip Bottle Filler is worth a look for that kind of gravity-fed setup. It isn’t the right tool for filling carbonated beer under pressure.
The appeal is a small, familiar movement. Lower the wand into a bottle, press the tip against the bottom to start filling, then lift it to stop. You can move along your row of bottles without trying to catch a stream from an open hose. Before ordering, though, give the connection and your workspace a quick look. Those details matter more than an impressive-looking accessory.
For a small batch, that simple stop-and-start action may be all the convenience you need. You still handle each bottle yourself, so think about whether you enjoy that pace or find it tiring. If most of your frustration comes from an awkward bucket position or bottles scattered around the kitchen, improve the layout as well. A new wand is most useful when it joins a setup you can comfortably work through.
A straightforward choice for bottling from a bucket
Northern Brewer describes this filler as a plastic wand with a spring-loaded valve. It’s 13 inches long with a 3/8-inch outside diameter, and the supplier recommends using it with a bucket that has a bottling spigot. The spring-loaded tip uses an O-ring to help seal between fills. That makes it a sensible option when you want manual control without adding a more involved filling system.
Think about the beer you’re packaging, too. This style belongs in an ordinary gravity-bottling routine, before bottle conditioning. If you’re moving already carbonated beer from a keg, look at equipment intended for that job instead. A basic spring-tip wand and a counter-pressure filler solve different problems; you don’t want to discover the difference with a foamy bottle in your hand.
A simple spring-tip wand for a compatible gravity-bottling setup, with a 13-inch length and 3/8-inch outside diameter. Check your hose fit before buying.
Northern Brewer Spring Tip Bottle Filler
A simple spring-tip wand for filling bottles from a compatible gravity-bottling setup.
Find in Amazon (paid link)
Get the hose fit right first
The useful measurement here is the wand’s outside diameter. Your tubing has an inside diameter as well, so a matching-looking number on a package isn’t enough by itself. Check the hose, filler, and spigot instructions together. You’re looking for a secure connection that suits all three parts, rather than stretching an unsuitable hose onto a fragile plastic fitting.
If your hose has been around for a while, inspect it before making it part of the new setup. Stiff, cracked, or stretched tubing can turn a simple bottling afternoon into a drip-catching exercise. Use suitable food-contact tubing and any fastening method the equipment maker allows. A short, well-supported connection is much nicer to work with than a tangle pulling sideways on the wand.
Make room for the bottles you actually use
Put one of your usual empty bottles beside the planned filling spot and picture inserting the wand, filling, and pulling it out again. You need room above the bottle as well as inside it. A tall bottle under a low shelf can make every movement awkward, even when the filler itself is the right size.
Keep the bucket stable and arrange the hose so you aren’t stepping over it. Set the next few bottles within reach, with a tray or other suitable spill-catching surface underneath. Use intact bottles suitable for your beer and carbonation method, and leave chipped, cracked, or uncertain glass out of the lineup. Good access also makes it easier to spot trouble before filling a bottle.
The little valve deserves a little attention
A spring tip is handy because it closes between bottles, but that small moving part needs to stay clean. Dried beer or trapped residue can interfere with its movement. Check the exact filler’s cleaning and disassembly directions, including how to inspect the tip and seal. Don’t pry it apart just because another brand’s wand comes apart that way.
Work over a clean tray when handling small pieces, rather than directly above the sink drain. Look for damaged plastic, a worn seal, or a spring that doesn’t move reliably. Cleaning removes residue; sanitizing is a separate step. Follow both sets of instructions, and replace a part that can’t be cleaned or operated properly. You shouldn’t have to accept a steady drip as part of bottling.
Try the movement before the beer is ready
A short rehearsal with suitable clean water is useful when the wand or arrangement is new to you. You’ll find out whether the bucket sits securely, the hose connection leaks, and the tip stops the flow when lifted. It’s also a chance to move the tray or bottles before you’re trying to protect a finished batch.
Prepare the equipment for beer afterward, following its cleaning and sanitizing directions. The rehearsal checks the mechanics, not sanitation. Keep hold of the hose and filler when opening the spigot, and stop if the valve sticks. Sorting that out calmly is easier than trying to finish the batch around an unreliable tool.
Let the wand help you fill gently
Keep the tip near the bottle bottom while filling so you’re not pouring beer down through the air. A steady movement helps you avoid unnecessary splashing and repeated starts. When you remove the wand, the liquid level drops because the wand was taking up space. Follow the fill guidance for your bottles and process, rather than trying to eliminate every bit of headspace.
Gentle filling is only one part of looking after the beer. If oxidation has been dulling your hops or changing the flavor, our guide to reducing oxidation while bottling connects the filling step with the rest of your handling. A better wand won’t undo a splashy transfer into the bucket.
Keep carbonation decisions separate
The filler controls flow; it doesn’t tell you whether fermentation has finished. Confirm that with an established brewing process, and measure priming sugar for the beer volume you’re actually packaging. Slower airlock activity alone isn’t a reliable reason to bottle. If your measurements don’t make sense, pause and get experienced help before sealing the beer in glass.
Don’t add extra sugar to make up for an uncertain fill level. Overcarbonation can break bottles and cause injury. Keeping fermentation checks, priming, and filling as separate decisions makes it easier to spot where a problem starts, without asking one small accessory to do a job it can’t do.
Is this the right filler for your next batch?
We’d choose a simple spring-tip wand when the goal is comfortable, controlled gravity filling and the connection suits the equipment already on the bench. Match the wand to your hose and bottle measurements. The filler, bucket and tubing are separate parts of the setup, so plan around the pieces included in your package.
Once you’re done, clean the filler promptly, rinse as directed, and let it dry in a protected place. Store it where the tip won’t be crushed by other tools. Have your caps and capper ready for the next session, too; our bottle-capper guide can help with that part. The best fit is a wand that makes your existing routine smoother, without giving you another fiddly problem to work around.