Reviewed and updated: November 11, 2026
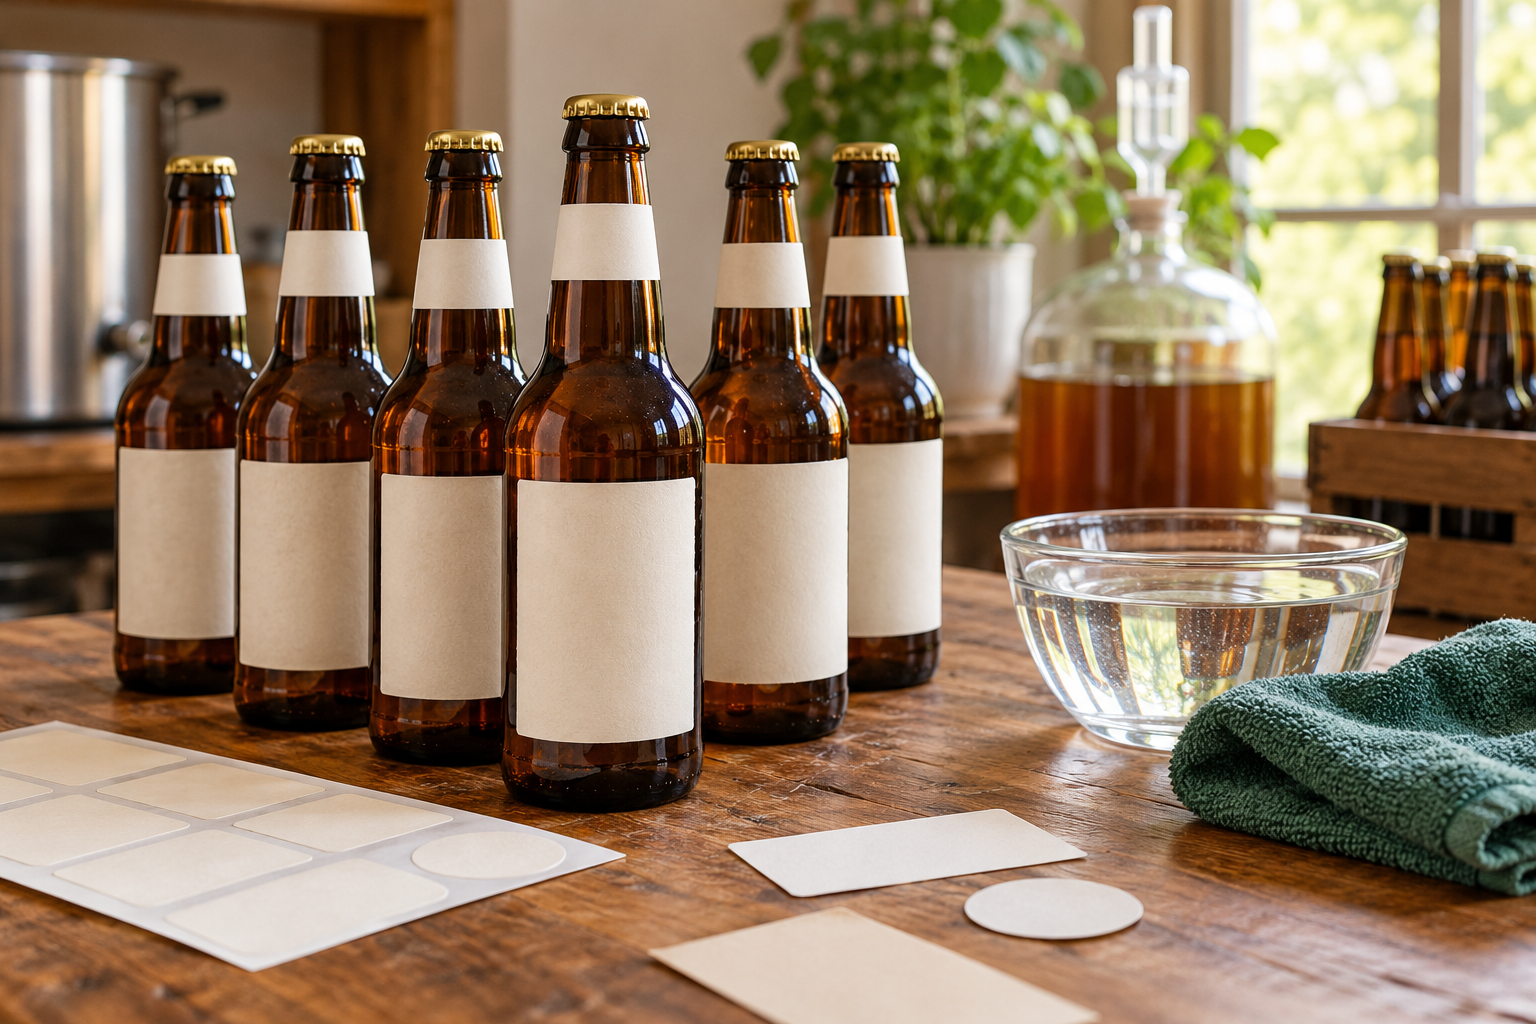
For bottles you’re going to reuse, we’d start with a neck tag or a label made to peel off cleanly. You get the fun of naming your beer without spending the next brew day picking glue off glass. The best choice depends on where those bottles are headed: a dry shelf, a friend’s fridge, or a cooler full of melting ice.
You don’t need a miniature brewery label on every bottle. A clear batch name and packaging date often do more for you than an elaborate design. Give yourself a way to tell the pale ale from last month’s bitter, keep the fuller brewing record elsewhere, and test your labeling method on one bottle before committing the whole batch.
Start with the information you’ll want later
A name, beer style, packaging date, and short batch code make a useful starting point. Put the same code in your brew notes so you can find the recipe and fermentation record again. If you’re sharing bottles, include any relevant ingredient or allergen information, and make clear that it’s homebrew. Your friends shouldn’t have to guess what’s in the glass.
Leave enough space for readable lettering. A crowded label might look great on a screen and be hard to read beside a dimly lit beer fridge. If you’ve measured or calculated an alcohol estimate, describe it honestly rather than giving it false precision. For a competition or organized event, check its labeling instructions before designing anything; the required format may be much simpler than your usual bottle-share label.
Neck tags keep glue out of the equation
A paper or cardstock neck tag is a good fit for gifts and bottles served upright on a dry table. You can remove it before washing, and the glass stays clear of adhesive. Make the opening large enough to sit over the sealed crown without forcing it, or use a short tie that won’t catch on shelves and neighboring bottles.
Keep the tag clear of the drinking rim, and never loosen a cap to tuck something underneath. The tradeoff is moisture: a paper tag isn’t much help after a long soak in a cooler. If that’s where your beer is going, use another tested identifier as well. A lovely handwritten tag is still worth doing for a gift; it just needs a different plan for chilling.
Use paper labels when the bottles will stay dry
Plain paper can work nicely for a tasting or a short stay on a dry shelf. Pair it with an attachment method intended to wash off, keeping it on the bottle body and away from the neck and closure. Test the combination of paper, ink, and attachment first. The part that causes trouble might be smearing ink rather than sticky glue.
Apply it to clean, dry glass at room temperature. Trying to label a bottle that’s already cold and damp is a frustrating way to start. Keep the design modest in size so it’s easy to lift and remove later, and don’t cover damage you need to see. If your bottles will be handled repeatedly, check that the corners don’t catch every time you pull one from the case.
Removable stickers still deserve a test bottle
Labels sold as removable can save time when you want a tidy, consistent batch. Read the maker’s guidance for glass, moisture, and application temperature. Then try one through the conditions you expect: storage, chilling, handling, and removal. A clean peel from a fresh bottle doesn’t tell you what will happen after a long spell in a humid fridge.
Permanent shipping labels are usually more work than you want on reusable beer bottles. Avoid unfamiliar glues and harsh adhesive treatments, too. If a label needs a complicated removal routine, it’s probably the wrong match for your bottle collection. Choose something you can manage comfortably during ordinary cleanup, rather than a finish that looks smart once and becomes a chore every time afterward.
A crown code is handy inside a full case
Looking down into a case, the top of the cap may be the only part you can see. A short batch code on a dry crown gives you a quick way to sort bottles without pulling every one out. Use a suitable marker according to its instructions, keep the ink on the outside top, and let it dry so it won’t rub onto hands or other bottles.
Avoid marking the underside or any surface that contacts beer. Cap color can help with sorting, but a written code is easier to connect to your notes when colors get reused. For bottles leaving your house, add readable information elsewhere as needed. Two tiny letters on a crown won’t explain the ingredients or tell a friend which beer you’ve brought.
Plan around condensation and ice
A bottle can stay perfectly labeled in a dry fridge and still become slippery when it reaches a warm room. Chill your test bottle, handle it as you would while serving, and see whether the label slides or the writing runs. If you’re taking beer to a barbecue, try the actual cooler conditions rather than assuming refrigeration is the same as an ice bath.
For wet conditions, use a label intended for them and test how it comes off afterward. Keep a separate note or case map as a backup, with crown codes that remain readable in your test. Skip loose sleeves that collect dirty water around the lip. The aim is to know which beer you’re handing over, without creating extra cleanup around the part everyone drinks from.
Make the next cleanup easy on the glass
Once a bottle is empty, remove the crown and take off the label before bottle washing. Collect loose paper and adhesive instead of sending them into drains, pumps, or washer jets. Follow the bottle and cleaner instructions, starting with a suitable gentle removal method. Don’t attack stubborn glue with a knife or a sharp metal scraper that could slip or damage the glass.
Inspect the rim, neck, sides, and base in good light while the bottle is bare. Set aside chipped, cracked, or deeply scratched bottles rather than hiding a doubtful patch under a fresh label. If you’re also tidying your packaging routine, our bottle-capper guide covers another bit of equipment worth matching to the bottles you keep.
Keep the beer’s story somewhere permanent
A label is a useful introduction to the beer, but it isn’t a dependable filing system. Tags fall off, caps get thrown away, and bottles go home with friends. Keep the batch code, recipe version, packaging date, priming details, and bottle count in a notebook or backed-up file. That gives you something to return to when a batch turns out especially well or needs a closer look.
If a bottle shows signs of a pressure or contamination problem, that code helps you identify the rest of its batch. Keep questionable bottles apart and seek reliable safe-handling guidance rather than opening a damaged or visibly stressed bottle just to investigate. Clear records are useful when something needs attention as well as when you’re planning another round of a favorite recipe.
Good labeling fits around good brewing habits. It won’t fix a rough transfer, so our guide to reducing oxidation at bottling is a useful companion. Start with one clear, easily removed label, test it in the conditions your beer will see, and keep the batch record separate. You’ll spend less time scrubbing bottles and more time enjoying what’s in them.