Reviewed and updated: November 12, 2026
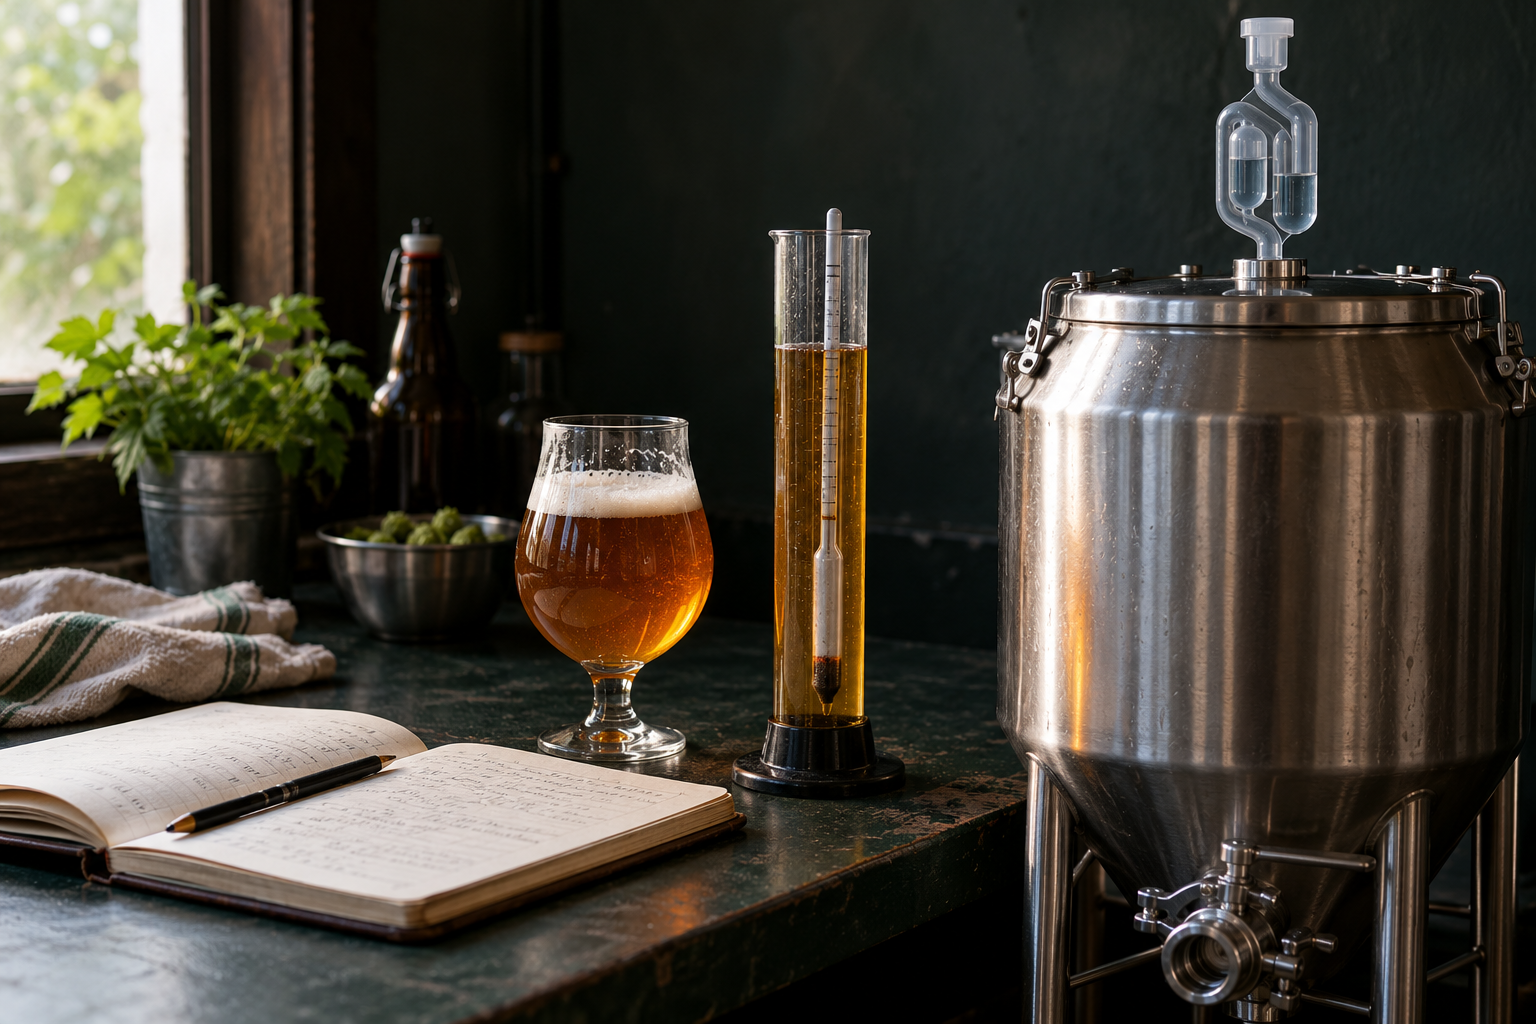
Bottling day should end with a row of beer you’re looking forward to sharing. Give that beer a gentle trip from fermenter to bottle, have everything ready before you start, and close each bottle promptly. Those ordinary habits are the best place to focus when you want your hop aroma and fresh beer character to make it through packaging.
You don’t need to turn the kitchen into a laboratory. Work through the transfers, connections, filling, and capping you already do, looking for unnecessary splashing or delays. A calm, repeatable routine gives you something useful to improve from batch to batch, without adding a collection of tricks that make bottling harder to manage.
Give finished beer a quieter ride
Aerating wort before fermentation and handling finished beer are different jobs. Once fermentation has done its work, you want to avoid introducing extra oxygen while moving and packaging the beer. Muted hop aroma, changes in color, or stale character can be clues that something has changed, though they don’t identify the cause on their own.
Start by watching your normal transfer. Look for beer falling through the air, a hose drawing bubbles, or a receiving vessel that gets stirred up as it fills. Those are more useful things to tackle than chasing a promise of completely oxygen-free bottles. You can make the routine gentler while keeping the parts of your setup that already work well.
Be ready before opening the fermenter
Clean and sanitize the bottles and every beer-contact part of the transfer and filling equipment, following the products’ directions. Keep cleaning and sanitizing as separate steps: a layer of dried beer needs to be removed before sanitizer can do its job. Prepare your caps as their manufacturer directs, including any special instructions for oxygen-absorbing caps.
Arrange the bottles, caps, capper, and a suitable spill tray within comfortable reach. Check the bottling wand’s tip, the spigot, and the hose connections while the equipment is still easy to work on. Replace tubing that’s brittle, damaged, or too loose to make a secure connection. Having the right parts ready means you won’t leave beer standing open while you search for something across the room.
Confirm the beer is ready for bottles
Give fermentation the time and checks your brewing process requires. Stable, appropriate gravity readings are more useful than counting days or watching the airlock slow down. If the measurements don’t make sense, get experienced help before sealing the batch in glass. Beer that continues fermenting unexpectedly in a bottle can build dangerous pressure.
Work out the priming addition for the volume you’ll actually package, using a reliable calculator and the relevant temperature history. Measure the ingredients accurately and follow an established method. Adding more sugar won’t fix a poor fill, and using less isn’t a sound way to compensate for uncertain fermentation. Keeping those decisions separate helps protect both the beer and the bottles.
Keep the transfer steady and low
Position the vessels securely, with a clear route for the hose. As the receiving vessel fills, keep the outlet below the beer’s surface so the flow doesn’t become a little waterfall. Support the tubing so it can’t pull loose or jump out, and leave enough room to work without knocking the bucket or disturbing sediment.
A hose full of air bubbles deserves a pause. Check for a loose connection or a broken siphon rather than carrying on with an obviously aerated transfer. Sort out the cause before restarting, using the appropriate procedure for your equipment. Making the transfer more predictable is a better goal than trying to finish it as quickly as possible.
Mix priming solution without whipping up the beer
Follow your chosen brewing procedure for preparing and cooling the priming solution, then combining it with the beer. You want the sugar distributed evenly so bottles don’t end up with very different carbonation. Gentle handling matters here: thorough mixing doesn’t have to mean splashing, frothing, or stirring air down from the surface.
Keep the actual packaged volume in view if you leave sediment behind or lose beer during transfer. Use the calculation and mixing method together, rather than adjusting by eye halfway through. A few clear notes about volume and priming are useful later if the batch develops uneven carbonation, and they make the next bottling session easier to plan.
Fill from the bottom and keep headspace consistent
A suitable bottling wand lets the beer rise from the bottom of the bottle with less splashing. Keep its tip clean and check that the valve closes reliably between fills. A new wand or hose arrangement is worth rehearsing with suitable clean water before beer is involved, followed by the proper preparation for use.
Removing the wand changes the final liquid level because it was taking up space inside the bottle. Follow the filling guidance for your bottles and process, keeping levels consistent. Don’t fill to the brim just to chase away every air space. Our spring-tip filler guide covers the fit and valve details that can make this part of bottling more comfortable.
Close bottles as you go
Place the prepared crown and cap promptly after filling, using a capper that suits the bottle and closure. Check alignment and the finished crimp as you work. Use intact bottles intended for the carbonation you’re making, and stop if the tool jams or a bottle is damaged. Extra force on crooked glass is never the answer to an awkward cap.
Oxygen-absorbing caps can be one part of your packaging routine, but they can’t put back aroma lost during a splashy transfer or make up for an incomplete seal. An advanced purging arrangement also depends on the whole system being used correctly. Get the ordinary transfer and capping steps working smoothly before adding another layer of equipment.
Keep good bottles good through conditioning and storage
Condition the batch at the temperature appropriate to your yeast and process, in a contained area away from children, heat, and accidental knocks. Once the beer is carbonated, store it as the style and brewing procedure require. Don’t rush the schedule simply because you’re eager to try the first one; follow the checks that suit that batch.
Keep a batch code, packaging date, priming amount, and bottle details in your notes. Easy-to-read bottle labels help you connect the beer in your fridge with that record. Compare freshly opened bottles at sensible checkpoints, using similar serving conditions, and note changes in aroma, color, flavor, carbonation, and sediment. That can help you spot a pattern without changing several things at once.
Unexpected pressure, damaged glass, or suspected contamination calls for caution and reliable brewing or safe-handling advice. Keep questionable bottles apart, and don’t use tasting as a way to establish that a doubtful batch is safe. For the next normal batch, return to the useful basics: prepare first, move the beer gently, measure carefully, and cap consistently. That’s a bottling routine you can settle into and improve as you brew.