Reviewed and updated: October 28, 2026
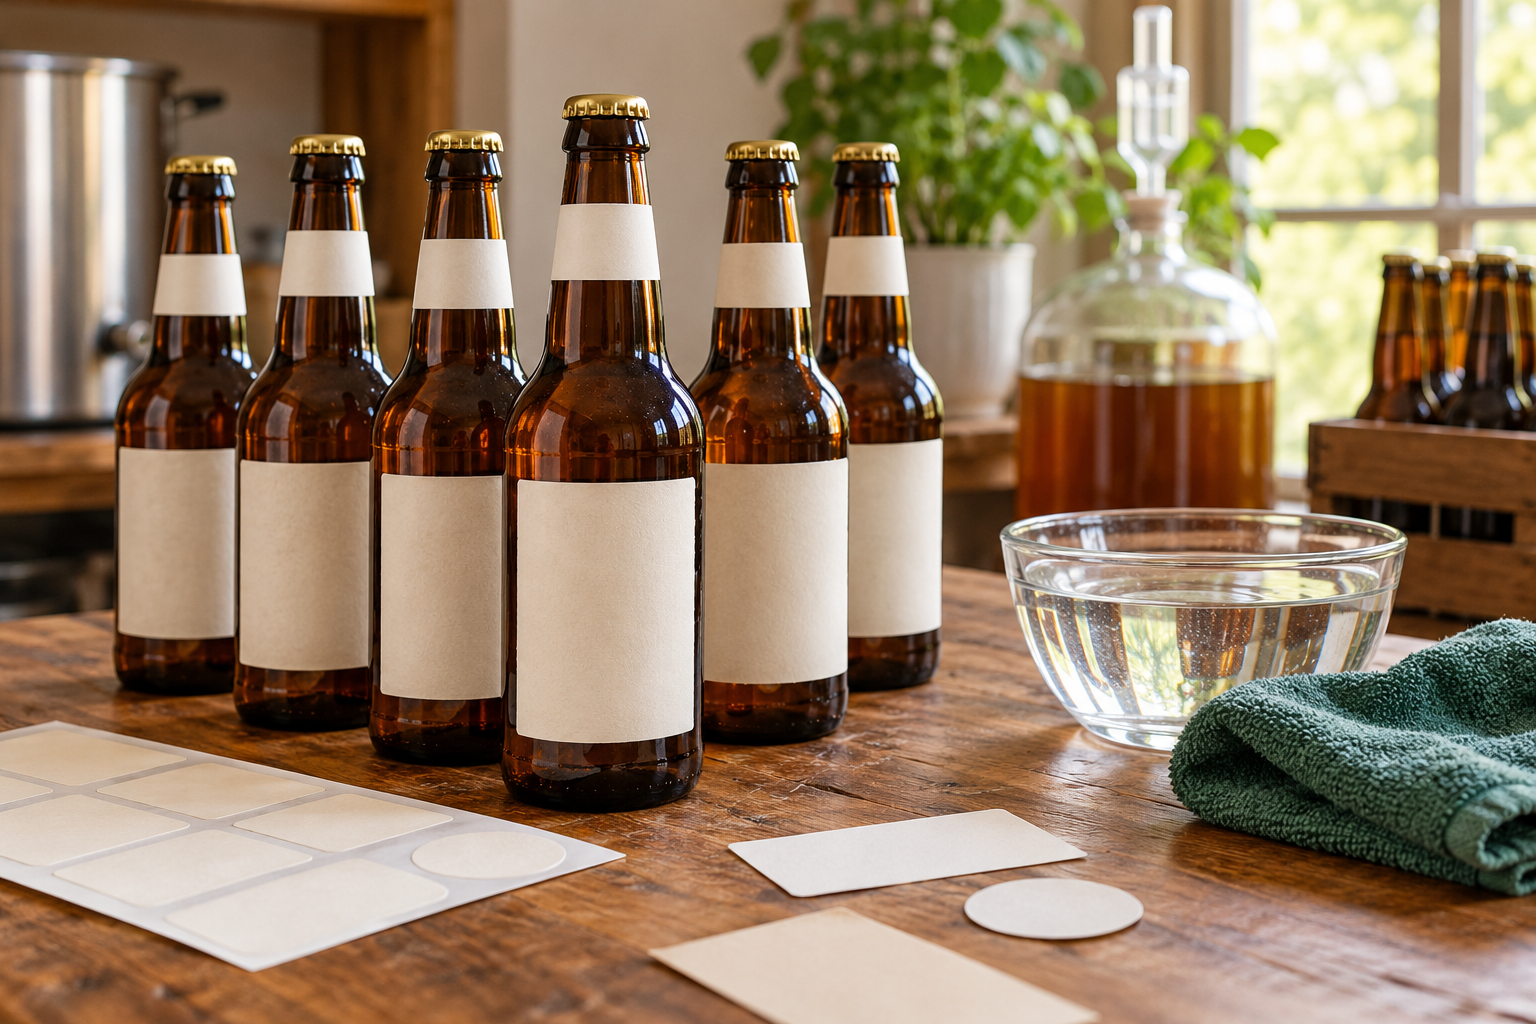
A good homebrew label identifies the batch, packaging date, and special handling without leaving adhesive on reusable glass. The right method depends on storage moisture, serving conditions, and how the bottle will be cleaned.
Decide what the label must communicate
Start with batch name, packaging date, beer style, and any safety or allergen note needed for the people receiving the bottle. A competition entry, bottle-share sample, cellar bottle, and gift each need different detail. Keep the text large enough to read in dim serving light and use a simple code that also appears in the brewing notes. Do not rely on cap color alone when several batches share a cooler. If bottles may be mistaken for commercial products, make the homebrew identity clear and avoid copying protected brand designs.
Choose paper for dry short-term storage
Ordinary printer paper attached with a water-soluble method is inexpensive and easy to remove from bottles that stay dry. It works best for a tasting, gift, or refrigerator shelf where condensation is limited. Test the ink for smearing and the paper for tearing before labeling a full batch. Apply labels only to clean, dry room-temperature glass. A label that wrinkles immediately is a sign that the surface or adhesive method is wrong. Never place paper over a crack, chip, embossing, or the seam where damage needs to remain visible.
Use removable adhesive deliberately
Commercial removable labels can offer cleaner application, but removable does not mean residue-free on every glass finish or after months in a humid refrigerator. Read the label maker’s surface and temperature guidance, then test one bottle through the expected storage cycle. Avoid permanent shipping labels unless long-term attachment is the goal. Do not use unknown craft glue, solvent-heavy adhesive, or tape that may contaminate a recycling stream. Place the label where fingers can hold the bottle without rubbing the edge loose during serving.
Consider neck tags for reusable bottles
A cardstock neck tag or tied paper tag avoids adhesive on the bottle body and can be removed before chilling or washing. The opening must fit over the closed crown without stressing it, and any string should remain short enough that it cannot catch on shelving. Neck tags are poor choices for an ice bath because they become wet and unreadable. They are useful for gifts or table service where the bottle remains upright and dry. Never attach a tag beneath a crown or disturb the finished seal to add identification.
Mark the crown for quick sorting
A food-safe, appropriate marker on the top of a dry crown can carry a short batch code, while the full record stays in the brew log. The mark should never touch the underside of the cap or the beer-contact surface. Verify that the ink is dry and will not transfer to hands, ice, or another bottle. Cap marks are convenient in cases and refrigerators but too small for serving information, alcohol statements, or allergy communication. Use them as a secondary identifier rather than the only label when bottles leave the brewer’s control.
Plan for condensation and coolers
Cold glass quickly collects moisture in a warm room, weakening paper and some removable adhesives. If bottles will sit in ice, use a tested water-resistant label or keep identification on a dry case map and crown code. Avoid loose plastic sleeves that can trap dirty water around the bottle lip. Chill and test one labeled bottle, wipe it as a guest would, and confirm the label remains readable without sliding. A label that survives dry refrigeration may still fail after repeated handling in a wet cooler.
Remove labels before washing
Peel or soak labels only after the bottle is empty and the crown is removed. Keep paper and adhesive out of pumps, drains, and bottle-washer jets. Use the mildest method that releases the label, following bottle and cleaner directions, and wear appropriate hand protection around wet glass. Do not scrape with a knife or metal tool that can slip or scratch the bottle. After removal, inspect the rim, neck, base, and sidewall under bright light. Retire glass with chips, cracks, deep scratches, or unknown damage.
Keep the batch record independent
Labels can detach, fade, or be discarded, so the permanent brewing record should live elsewhere. Record recipe version, fermentation notes, packaging date, priming method, bottle count, and the label code in a notebook or backed-up file. If a bottle develops overpressure, contamination, or an off aroma, the code should let the brewer identify the related batch quickly. Never open a visibly stressed or damaged bottle simply to read an internal clue. Isolate questionable bottles and follow safe handling guidance.
Quick checklist
- Include batch name and packaging date.
- Test one label through the expected storage cycle.
- Keep adhesive away from the rim and crown.
- Use a crown code as a secondary identifier.
- Remove paper before bottle washing.
- Maintain a separate permanent batch record.
Why these checkpoints matter
- Include batch name and packaging date. This defines the starting condition and prevents the rest of the process from resting on an assumption.
- Test one label through the expected storage cycle. This narrows the choice to evidence you can verify on the exact label, model, or scene.
- Keep adhesive away from the rim and crown. This checkpoint reduces avoidable risk before another variable is introduced.
- Use a crown code as a secondary identifier. This keeps the routine compatible with the person, product, material, or equipment involved.
- Remove paper before bottle washing. This creates a repeatable step instead of relying on memory or marketing language.
- Maintain a separate permanent batch record. This final review catches changes in condition, availability, or instructions before the next use.
Common questions
What is the easiest label to remove?
A simple paper label with a tested water-soluble attachment can work well for dry short-term use, but always test the exact paper, ink, and storage conditions.
Can I use permanent shipping labels?
They may be difficult to remove from reusable glass and are unnecessary for many homebrew situations.
Should the alcohol percentage be on the label?
Requirements depend on how and where the beer is shared. For private use, accurate batch information is still helpful; commercial distribution requires legal guidance.
1 thought on “How to Label Homebrew Bottles Without Sticky Residue”