If you buy something through a link in our posts, we may get a small share of the sale.
Knowing how to wash yeast is an important step in brewing beer. It is an aspect that many brewers overlook and can lead to subpar beer. When exposed to air or not washed properly, Yeast may become depleted of nutrients and die, thus making the fermentation process more difficult.
Contents
How to Wash Yeast
Put the yeast into a sanitized mason jar large enough to ensure that the yeast is completely submerged in water. Fill the mason jar with distilled water until the yeast is completely submerged and has a little wiggle room. The slurry of yeast should be mixed well when being introduced to the water.
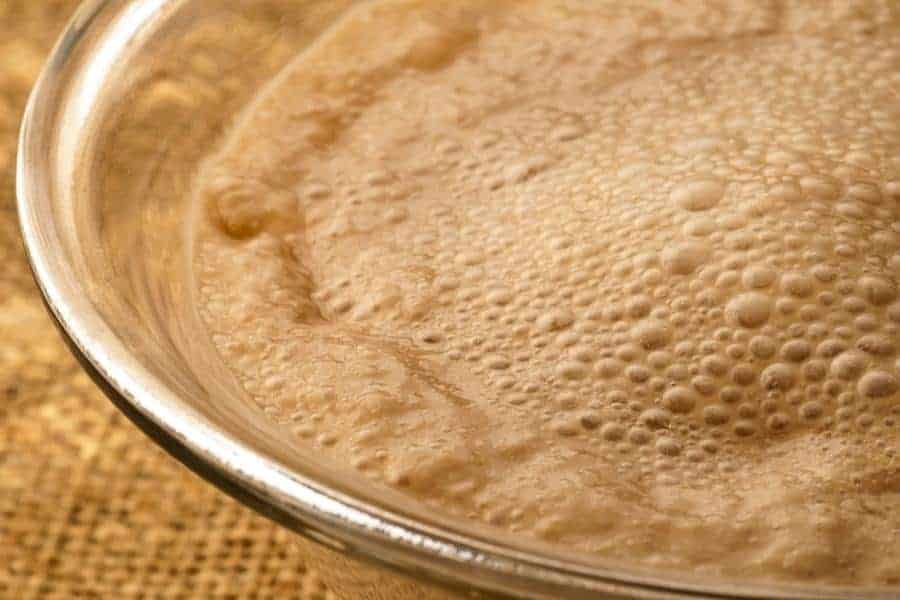
Cover the mason jar with a cheesecloth and secure it with a rubber band. Leave the beer yeast to sit at a temperature between 30-40 degrees Fahrenheit for at least 24 hours. After the allotted time, the yeast should have produced a thick foam on top of the water.
It is time to pour the yeast into a mesh strainer and allow the water to strain through it. The water will take on a milky appearance due to the dead yeast cells and dead bacteria in the mixture. The remaining yeast will be a thick, goopy substance that can be poured into a sanitized mason jar or container for storage.
The Process of Washing Yeast
Whether you are brewing beer for the first time or as a seasoned professional, yeast washing is often overlooked; however, an important part of the brewing process. Many brewers do not realize the importance of washing yeast and how it can impact the outcome of their beer.
The following are step-by-step instructions on how to wash yeast to ensure that your beer turns out the way that you want it to:
Prepare the Sterile Water
You can do this by heating water in a sterilized mason jar and making sure to use distilled or bottled water that does not contain chlorine. Once the water has reached a boiling point, allow it to cool for about 30 minutes until it reaches room temperature.
After this, store the water in the mason jar and cover it with a sterilized cheesecloth before securing it with a rubber band. You can use the water even the following day so long as it is not exposed to open air, which can cause the water to be contaminated.
Sterilize the Jars
Sterilizing the jars is extremely easy. Just fill the jars with water and boil them on your stovetop for at least 20 minutes. Once they are boiled, allow them to air dry or use a clean dish towel to dry them off. Be sure not to touch the inside of the jars with your bare hands, as this can contaminate the water.

You should have at least three jars so that you can separate the slurry of yeast into each one. One should be four times the size of another, and the third should be twice the size of the second. This is essential for storing the yeast and ensuring that you have enough to make a large batch of beer.
Sanitize the Carboy’s Rim
Brewing should be a clean process that is free of any contamination. This is why it is essential to sanitize the rim of your carboy before adding the yeast slurry. You can do this by spraying the rim of your carboy with a sanitizer spray.
This will ensure that any unwanted bacteria does not make its way into your beer. It will also ensure that the yeast is not exposed to any open air, which can cause it to die and infect your beer and make your beer taste bad.
Shake the Yeast
At times, your fermenter may contain a lot of trub (the solid waste material that is leftover from the brewing process). This can make it difficult to pour the yeast into the carboy. To ensure that the yeast is properly mixed with the water, shake or stir it vigorously for about two minutes.
It is the only way you can loosen the yeast from the bottom of your fermenter and get it into the carboy with the water. This is essential because it helps you have a better beer free of unwanted waste material.
Pour the Yeast Into the Mason Jar
After shaking the yeast, it is time to pour it into a mason jar. This is important because it allows you to save some of the yeast for future use. Be sure to pour the yeast slowly so that you do not lose any of it down the drain.
Once the yeast is in the mason jar, screw the lid on tightly and store it in a cool, dark place. After a week or so, the yeast will settle to the bottom of the jar, and a clear liquid will be at the top.
You can now use this yeast for your next batch of beer or store it away for future use. This is important because yeast washing helps to ensure that your beer tastes the way that you want it to and is free of any unwanted contaminants.
When to Wash Yeast
You don’t just wake up one day and decide that you want to wash your yeast. It’s normally a process that happens over time due to the number of batches you have made. The following are some of the occasions when you would want to wash your yeast:
- When you are brewing a high gravity beer: If you’re brewing a big, high-gravity beer, you might want to consider washing your yeast. The high gravity of the beer can stress out the yeast, and washing it will help remove some of the impurities that can build up and affect the flavor of your beer.
- When you want to harvest yeast for future use: If you want to save some yeast for future use, washing it first will help to ensure that the yeast is healthy and viable.
- When you want to change the flavor of your beer – Washing yeast can remove some of the flavors that are imparted by the yeast, allowing you to change the flavor of your beer to better suit your preferences.
- When you want to make a starter: Making a yeast starter is a good way to ensure that your yeast is healthy and ready to ferment your beer. Washing the yeast first will help to make sure that your starter is as healthy as possible.
Why Washing Yeast Is Beneficial
Washing your yeast comes with many benefits that you should consider if you are thinking about giving it a try. Some of the benefits include:
- It keeps your yeast healthy and viable: When you wash the yeast, it removes some of the impurities created during fermentation. This will help keep the yeast strong and healthy as it’s used for future batches.
- It can help change the flavor of your beer: Washing your yeast can remove some of the unwanted flavors that are imparted by the yeast, especially if you’re using it in a high-gravity beer. This allows you to customize your beer and get the exact flavor you want.
- It can help reduce off-flavors: Sometimes, certain off-flavors can be caused by impurities in the yeast. Washing your yeast can help remove these impurities and improve the flavor of your beer.
Frequently Asked Questions
How Long Does Washed Yeast Last?
A washed yeast can last up to three months if stored properly in the fridge. If you plan to store it for longer than that, you can freeze it and use it as needed.
Can Dry Yeast Be Reused?
Yes, dry yeast can be reused. However, it’s important to make sure that the yeast is still healthy and viable before using it again. You can do this by performing a yeast washing first to remove any impurities that may have built up over time.
Conclusion
Yeast washing comes with many benefits that can be helpful for brewers of all levels. With a little practice, you’ll be able to master the art of yeast washing and produce high-quality beer that tastes great every time.
