If you buy something through a link in our posts, we may get a small share of the sale.
Homebrewing should be cost-effective, and reusing ingredients is an excellent way of cutting those costs. That is why I will focus on how to reuse yeast for your brewing projects. How do you reuse it, and what are the benefits of doing so?
Contents
How to Reuse Yeast
To reuse yeast, you need to separate it from the hops, grains, and freshly brewed alcohol. As long as you do it correctly, you can reuse the yeast up to 6 times which collectively will save you a decent amount of money.
You will also realize that some yeast strains will work better the second time than the first. The most important aspect is to ensure you follow the steps of harvesting, washing, and reusing yeast to avoid contamination. As much as you want to save money, be careful when reusing yeast to avoid ruining the whole batch.
There are two methods of harvesting yeast and reusing it. The first method is secondary harvesting which is best for reusing immediately, and the second method is primary harvesting. Although secondary harvesting is easier and faster, the primary method is better because you can reuse the harvested yeast several times.
Method 1: Secondary Harvesting
To reuse the yeast, you need to take the trub that remains at the bottom once you bottle your beer to reuse the yeast. You can choose to pour fresh wort into the fermenter and start a new batch. If you are the type that likes to start each batch in a new carboy, transfer the trub to the new carboy.
Make sure you sanitize all the containers before pouring the wort or the trub. Another advantage is that you don’t have to oxidate the yeast during this step. Yeast cells need oxygen to reproduce, but they already multiplied during the previous fermentation.
The yeast cells are more attenuative at this point, and thus fermentation will be faster than the first time. Although this method is best for brewing immediately, you can store the trub and use it several weeks later.
Method 2: Primary Harvesting
Here are the steps for primary harvesting:
Prepare Sterile Water
Sterilize tap water by boiling it for 15 minutes and then let it cool. Store the water in a sterilized jar to speed up the process. You can do these before the beer you are currently brewing is ready. That way, once your beer is ready and bottled, you can start yeast harvesting.
Sterilize Jars and Sanitize the Carboy
Sterilize the jars you will use in yeast harvesting by boiling them in water or putting them in a sanitizer solution. Make sure one of the jars is big enough to hold the slurry and water. The carboy you intend to ferment in should also be sterilized because I don’t want to risk bacteria finding its way into my mash.
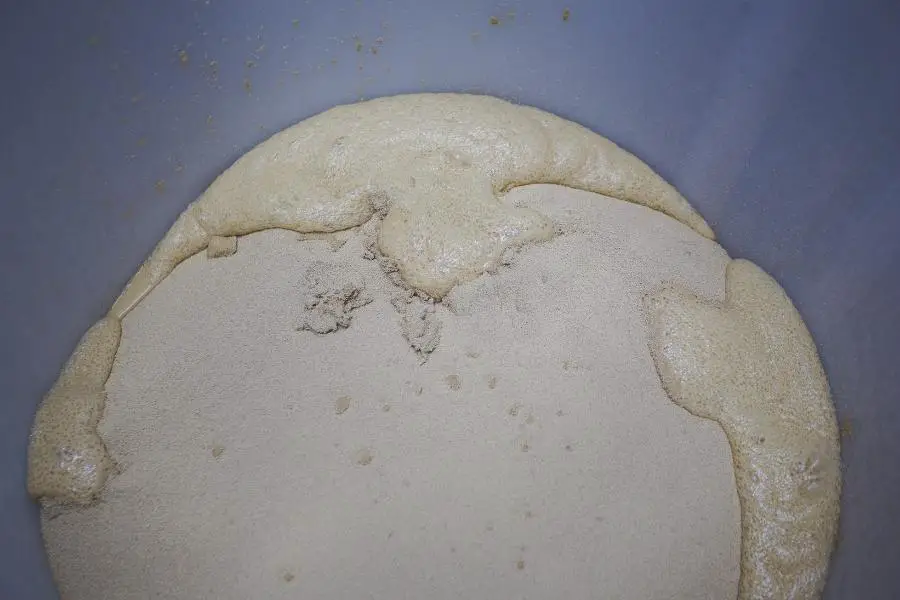
Shake up the Yeast
The thick creamy substance at the bottom of your fermenter contains more than yeast cells. You need to shake it or swirl it well to loosen it up. You can use some sterile water to loosen it further.
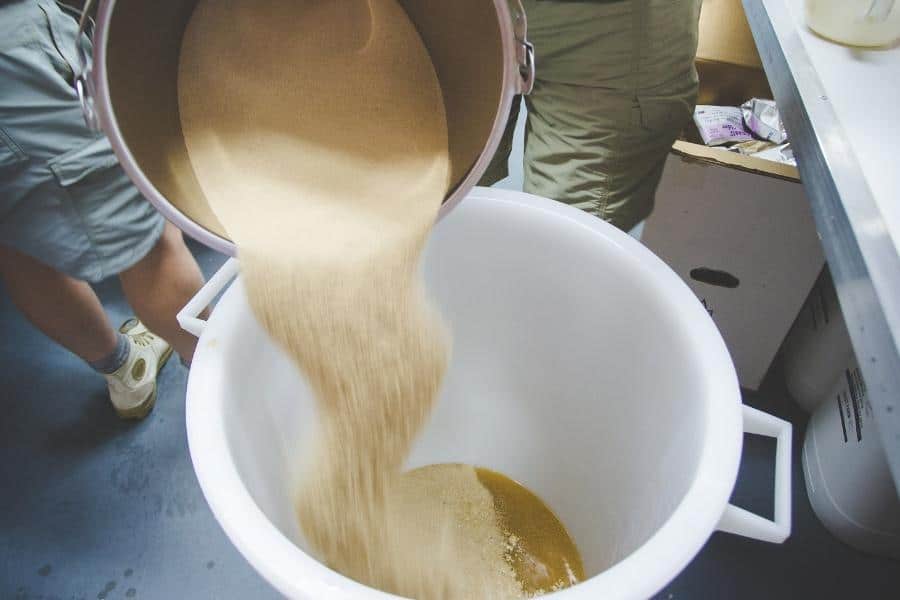
Transfer and Refrigerate
Now it is time to transfer your mixture to one sterilized jar and cover the lid. Refrigerate it for 20 minutes. If you did not filter the hops, you would have a white layer of yeast on top and a dark brown layer of trub. Thus, you can separate the two and pour the layer of yeast into another sterilized jar. However, if you filter the hops, your mixture will have a small amount of turn and thus no need to transfer anything.
All you need to do is cap your jar and refrigerate it until you need to use the yeast.
Benefits of Reusing Yeast
Let’s admit that after you are done brewing, yeast hulls are not very attractive. Yet, I am encouraging you to reuse it, and not once, but several times. Here are the benefits you will get when you reuse yeast, making it worth washing and properly storing used yeast.
Save Time and Money
It takes time to rush to the store to get yeast for every batch of beer you brew. Therefore if you reuse your yeast, you don’t have to make unnecessary trips. Dry yeast costs between $3 and $8, while liquid yeast costs between $8 and $12.
Each liquid packet of yeast is for 5 gallon brew, so brewing one gallon and throwing it away is a total waste. If you keep throwing away yeast after one gallon, you may use more than it would cost to buy from the nearest store.
Gives You a Chance to Try New Methods
There is nothing wrong with dry yeast, and it has been in use for ages. It’s easy to use and store and has a long shelf life; that’s why homebrewers swear by it. However, I am in the age of homebrewing, where new and better yeast strains are being discovered every day.
So exploring different ways you can improve your homebrewing and save more money is a good idea. Washing and reusing yeast gives you the opportunity of exploring liquid yeast. As you reuse it, you will learn more about how to store it, how it affects fermentation with each reuse, and much more. Take this as a learning experience.
Get a Faster Fermentation
When you use yeast for the first time, it takes time for the yeast cells to multiply. This is not the case with reusing yeast. There are more yeast cells this time, and thus fermentation is faster and more efficient.
Have a Better Second Batch
Apart from a faster fermentation during the second batch of yeast, the fermentation is also better than the first. So expect a better, smoother, and tastier beer for your second batch than the first. If you notice that fermentation is slower during the second batch, you did not handle the yeast properly, and thus, most cells died.
Best Yeast Strains to Reuse
You can reuse any yeast strains as long as they have completed the fermentation process of the last batch. Reusing yeast is easier if you use one or two yeast strains because you can easily harvest them, wash them and store them for your subsequent brewing.
As long as you are careful when handling your yeast, you can reuse it between 3 and 10 times. How do you know it is time to get fresh yeast? here are the things you should look out for when using yeast again:
- The yeast appearing dark is a sign of oxidation, so don’t reuse it, additionally, if the yeast looks brown like peanut butter, most of the cells are dead
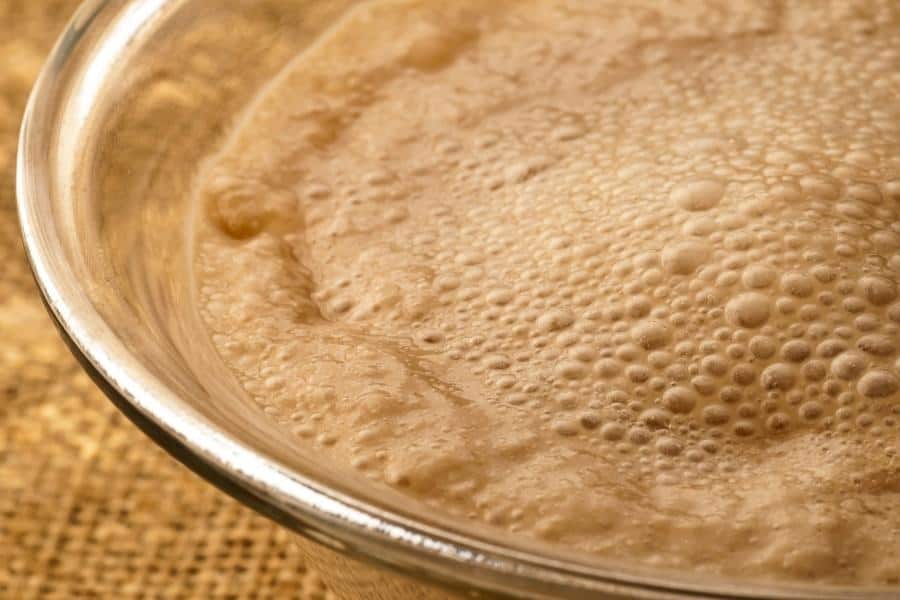
- Make sure the yeast looks creamy and thick before reusing it
- Smell it and make sure it does not contain any smells or aromas
- It should have just a little trub
- If your yeast smells of sulfur or phenolic, it shows there were sanitization issues during the harvesting, washing, or storing
When Should You Reuse Yeast?
If you brew beer once per year or randomly, reusing yeast is not for you. If you store the yeast for too long, it may spoil, and thus you won’t know whether it is safe to use or not. Here are the instances where reusing yeast is a good idea:
- When you are making several batches of the same type of beer and thus requiring the same kind of yeast
- If you are making a different type of beer that can use the same yeast strain
- When making a high-gravity beer, you can start with a yeast starter which builds up enough yeast cells to ferment the high-gravity beer
Tips for Reusing Yeast
As a homebrewer saving on costs should always be a priority. Here are my types for reusing yeast without spoiling a whole batch of ber in the name of saving money:
Use a Sanitizer
Use a strong sanitizer and make sure you sanitize every container. You are reusing yeast to save money, and therefore, it will be bad if bacteria is transferred to your mash as you reuse yeast.
Use 4-5 Generations
The yeast gets altered at each reuse which may negatively affect fermentation. You may notice that fermentation will be slower as the yeast may not attenuate. So make sure you use yeast for up to the fifth generation and then get fresh yeast and start reusing it.
Conclusion
As a homebrewer, it is vital to strive to get more beer for less money. Reusing yeast allows you to save money, and some homebrewers have said that the beer tasted better the second time they reused the yeast than the first. So don’t throw the yeast after the first batch.
