If you buy something through a link in our posts, we may get a small share of the sale.
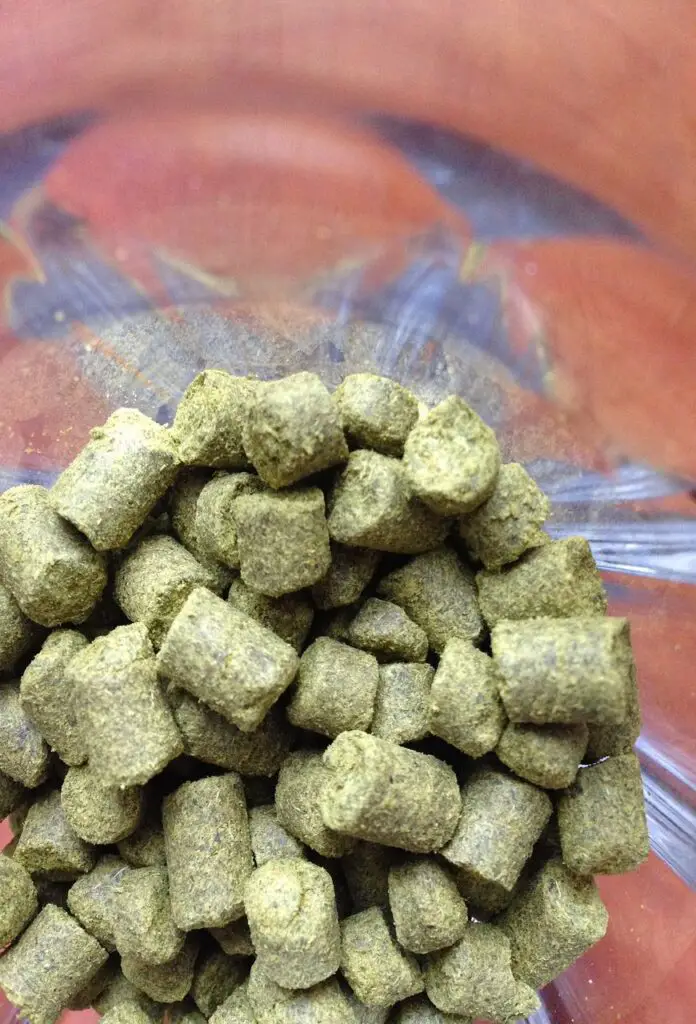
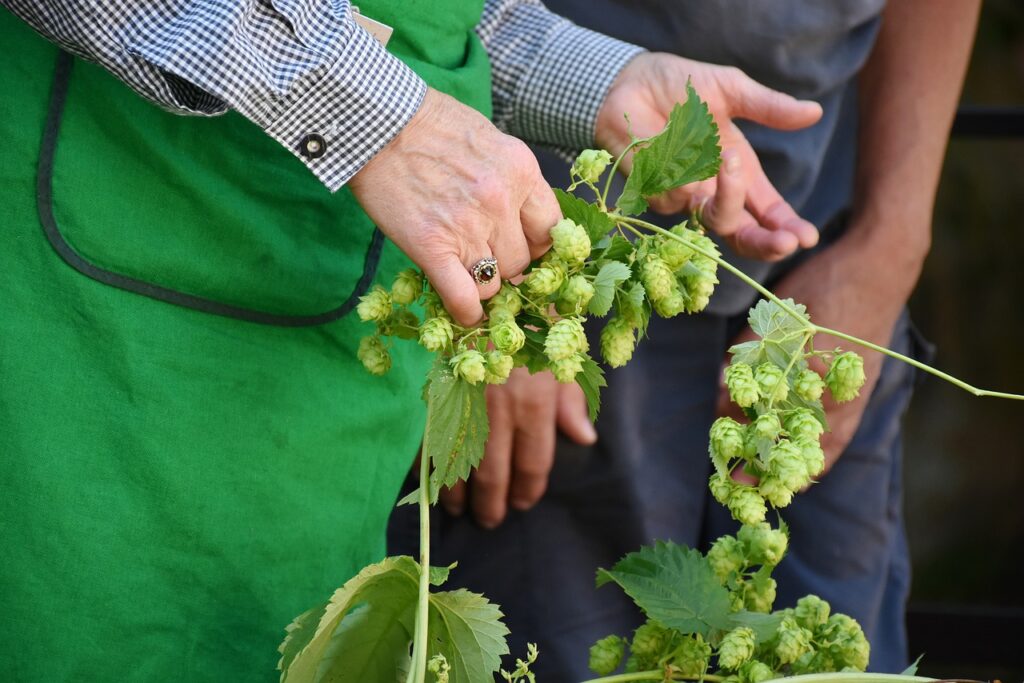
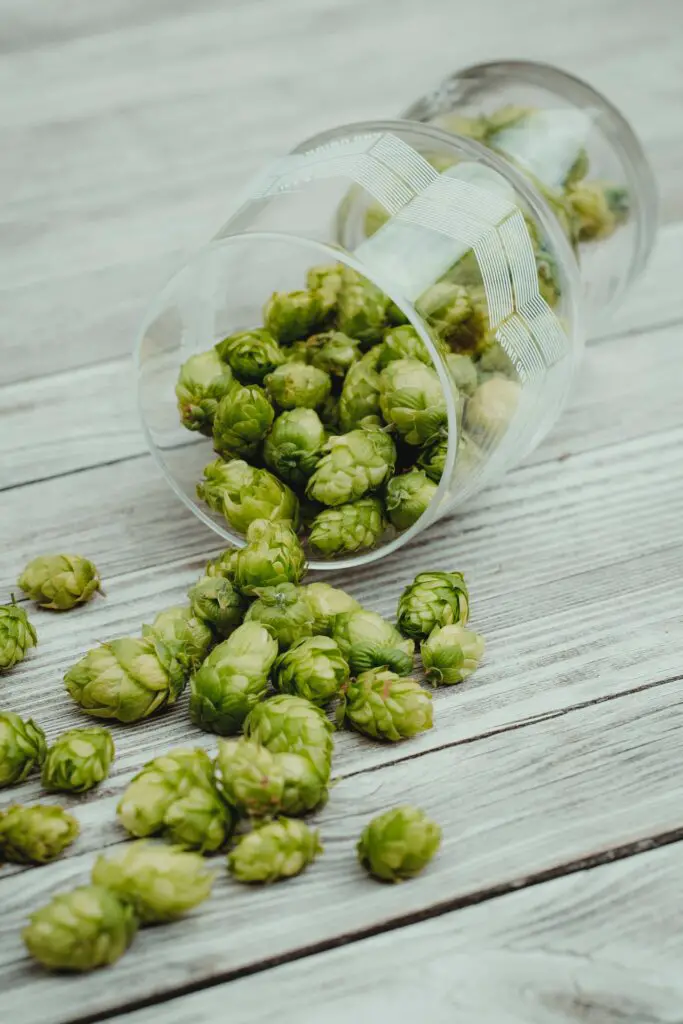
Hops are the female flowers of the hop plant, Humulus lupulus. They act as flavoring and bitterness agents in beer and act as a stabilizing agent. It’s every brewer’s dream to have a great-tasting beer, and one way to ensure this is by learning how to dry hop with pellets.
Contents
How to Dry Hop With Pellets
The best and easiest way to dry hop with pellets is to transfer your beer from the primary fermenter to the secondary fermenter. This can be done by siphoning or by gravity. Once in the secondary fermenter, add the correct amount of pellets for your batch size. For every gallon of beer, add between 1/2 ounce to 1 1/2 ounce of pellets. It’s best to start on the lower end and work your way up, as too many hops can make your beer taste grassy.
Leave the hops in the secondary fermenter for 2-3 days, then siphon or gravity transfer your beer into a keg or bottling bucket. Most brewers put the pellets in a porous bag, such as a muslin bag. This helps to prevent clogging and also makes it easier to remove the hops before bottling or kegging.
When dry hopping with pellets, it’s important to remember that a little goes a long way. Start with a lower amount and work your way up. This way, you’ll have a great-tasting beer that’s not too bitter or grassy. You will also get to enjoy the fantastic aroma that pellet hops can provide.
Step by Step Instructions for Dry Hopping With Pellets
The hopping process is a critical factor in developing beer flavor and aroma. The type of hop, when it’s added, and how it’s used all contribute to the final product. Dry hopping is the process of adding hops to beer after fermentation is complete. This allows the hops to steep in the beer and impart their flavor and aroma without adding bitterness. The following steps will guide you to dry hop with pellets like a pro.
Step 1: Prepare the Hops
The first step is to prepare the hops. This includes weighing the correct amount and adding them to a muslin bag or hop spider. If you’re using a muslin bag, make sure it’s large enough to hold all the hops and allows for good circulation.
Tie the bag closed, being careful not to make it too tight. You don’t want the hops to burst through the bag and clog your siphon. If you’re using a hop spider, ensure it’s clean and dry before use. Some brewers recommend adding a little water to the spider to help keep the hops from clogging it.
Step 2: Transfer the Beer From Primary to Secondary Fermenter
Before adding hops to your beer, you must transfer it from the primary fermenter to the secondary fermenter. This can be done by siphoning or by gravity.
In most cases, it’s best to siphon the beer into the secondary fermenter. This prevents oxygen from being introduced to the beer, leading to off-flavors. If gravity transfers the beer, be careful not to splash it. This can also introduce oxygen and other contaminants. Also, ensure that no light can enter the fermenter, which can cause skunking.
Always clean your siphoning equipment before use. This includes the tubing, racking cane, and secondary fermenter. You can clean them with a mild bleach solution or use a non-rinse sanitizer. Do not use any cleaning agent that could leave behind residual flavors.
Step 3: Add the Hops to the Secondary Fermenter
Once your beer is in the secondary fermenter, it’s time to add the hops. If you’re using a muslin bag, simply lower it into the fermenter until it’s fully submerged. Ensure it does not touch the bottom or sides of the fermenter, as this could cause clogging. The same case will happen if you’re using a hop spider. The only difference is that you won’t need to worry about the hops bursting through the bag.
If the hops touch the wort, they could start to release bitterness into the beer. To avoid this, ensure they are fully submerged and have plenty of space in the bag or spider to circulate.
Step 4: Wait for the Beer to Condition
Once the hops have been added, it’s time to let the beer condition. This process can take anywhere from a few days to a few weeks. The amount of time will depend on the type of beer and the desired flavor profile. Ale beer usually takes less time to condition than lager beer.
As the beer conditions, the hops will impart their flavor and aroma. The longer you let the beer condition, the more intense the flavor and aroma will be. When the beer has reached your desired level of flavor, it’s time to move on to the next step.
Step 5: Bottle or Keg the Beer
The final step is to bottle or keg your beer. Kegging is the preferred method, as it eliminates the risk of oxidation. If you’re bottling the beer, be sure to use airtight bottles. Oxygen can cause the beer to go bad quickly.
Once the beer is in bottles or kegs, it’s ready to be enjoyed. Ensure you store it in a cool, dark place to prevent skunking.
Ways to Prevent Loose Hops From Entering Your Drink
Hops are a vital ingredient in beer; however, they can be a pain to deal with. If you don’t want to end up with a mouthful of hops, you must be careful when adding them to your beer. Here are a few tips to help you avoid loose hops in your drink:
- Ensure the muslin bag or hop spider is dry before adding the hops. Wet hops can clump together and make it difficult to close the bag.
- Attach a filter to the siphon. Before transferring the beer to the secondary fermenter, attach a filter to the end of the siphon. This will help catch any loose hops that might escape.
- Use a big enough bag. If the muslin bag is too small, the hops could burst through. Be sure to use a bag that is large enough to allow for proper circulation.
- Avoid overhopping. Adding too many hops can make the beer bitter and unpalatable. Start with a small amount and increase as needed.
- Use a Strainer. A strainer can help catch loose hops that might escape during the transfer process. Be sure to clean the strainer after each use and sanitize it before adding it to the beer.
Frequently Asked Questions
When is the Best Time to Dry Hop?
The best time to dry hop is during secondary fermentation. This allows the hops to infuse flavor and aroma into the beer without causing bitterness.
How Long Should You Dry Hop?
The amount of time you dry hop will depend on the type of beer and the desired flavor profile. Ale beer usually takes less time to condition than lager beer. Generally, you should dry hop for 2-3 days. This will give the beer plenty of time to absorb the hops flavor and aroma.
What Temperature Should You Dry Hop At?
The best temperature to dry hop at is 68-70 degrees Fahrenheit. This temperature range allows the beer to condition without imparting too much bitterness.
Conclusion
A beer full of flavor and aroma is a great way to impress your friends. It’s also a great way to enjoy your favorite beer style. Dry hopping with pellets is a great way to add flavor and aroma to your beer to enjoy it to the fullest. Cheers!
