Reviewed and updated: November 13, 2026
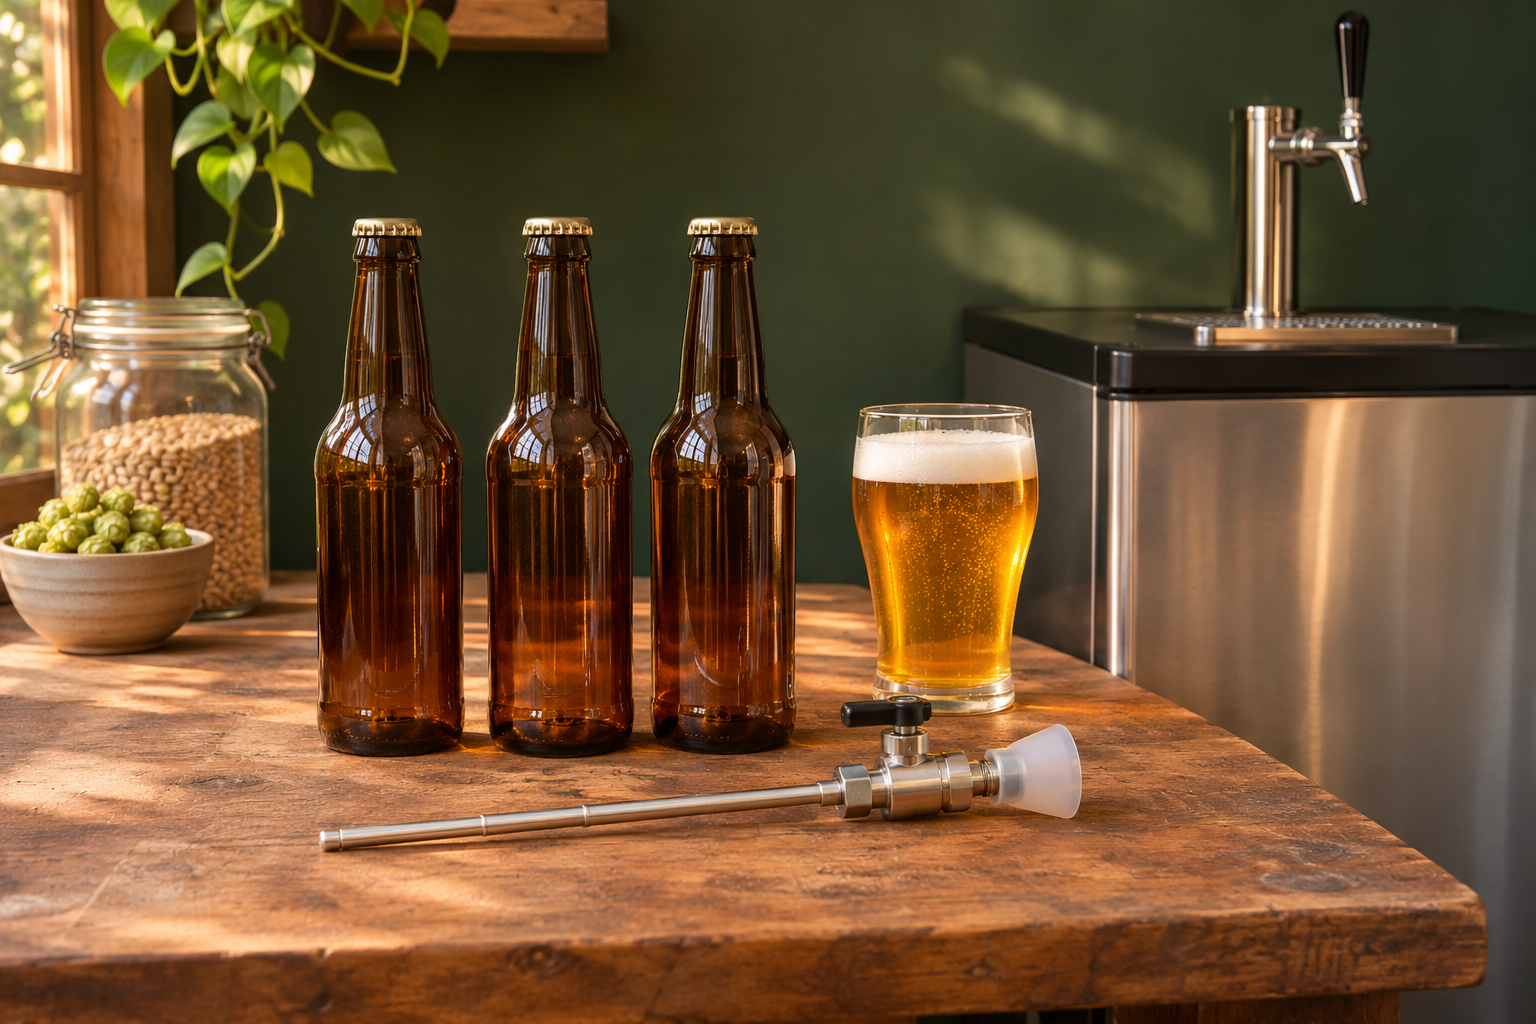
Taking a few bottles from your own keg to a friend’s place is exactly the sort of job the Tapcooler suits. We’d put this compact counter-pressure filler on your shortlist when you already have a compatible draft tap and want to share carbonated beer in bottles. Its appeal is keeping the keg-and-tap setup you enjoy, with a more deliberate filling arrangement than simply pouring beer through an open bottle neck.
We’d be less keen to build a whole new dispensing setup around it for an occasional bottle. The Tapcooler makes most sense as an addition to equipment you already use. Your faucet, gas connection, bottles, and working space all help decide whether this little tool will make sharing beer easier.
A useful companion to a home draft setup
Kegging is lovely when the beer stays at home: pull a pint, put your feet up, and enjoy what you’ve brewed. Bottles become appealing when you want to bring a couple of different beers to a tasting, give a friend a sample, or set aside individual servings. A growler carries one larger fill; bottles let you divide the beer into smaller, separately sealed portions.
You’re adding a way to package beer that is already carbonated in a keg, rather than buying a wand for uncarbonated beer headed toward bottle conditioning. A simple gravity bottling wand suits that other routine. The two tools belong to different packaging plans, even though both end with beer in a bottle.
Your faucet is the first part of the fit
The Tapcooler plugs into supported forward-sealing faucets, including Vent-Matic, Perlick 600 series, Ultratap, and Intertap. Perlick 500 series and Alpha-type taps need an optional connector. Match the actual faucet model, rather than buying around a brand name alone. Different generations can need different connections.
For a compatible tap already sitting above your drip tray, that arrangement is the main attraction. Picture the bottle at the faucet where you normally pour a pint. You can decide whether the filling position will be comfortable without imagining an entirely different brewing corner. The Tapcooler is especially interesting when that existing position already works well.
An unsupported faucet changes the purchase. Adding a new tap, connectors, or another beer route can turn a compact accessory into a larger project. We’d compare that whole arrangement with a separate keg-connected filler before committing. Buy the setup that fits your brewery, rather than letting one attractive gadget choose the rest of it for you.
A focused option for sharing kegged beer in individual bottles; allow room for the bottle and filler together.
Tapcooler Counter Pressure Bottle Filler
A compact bottle filler for a compatible forward-sealing draft faucet and regulated CO2 setup.
Find in Amazon (paid link)
What counter-pressure adds to the decision
The filler has a CO2 control, a bottle-mouth seal, and an adjustable pressure-relief valve. Gas and beer enter through a telescopic tube reaching down into the bottle. The relief adjustment controls how the bottle fills. Those features give you control over a job that an ordinary open pour handles very differently.
Think of that control as a reason to learn the tool, rather than a promise of perfect bottles on the first attempt. Beer temperature, bottle temperature, and carbonation affect foaming. A beer that already pours badly at the faucet needs attention before you expect a filler to make packaging pleasant. Our advice on sorting out keg foam is useful when that is the problem you’re actually trying to solve.
For a hop-forward beer you’re excited to share, careful filling is worth the attention. Keep a suitable closure ready and move the filled bottles into appropriate storage. The filler handles one part of that route; how you close and look after the bottles still matters. It doesn’t establish a guaranteed shelf life.
Give the bottle some room
The telescopic tube accommodates different bottle heights, and the standard seal is intended for crown-cap and flip-top bottles. That flexibility is handy when your bottle collection isn’t all one size. It doesn’t make every container suitable for pressure, though. Use sound bottles intended for carbonated beer and follow the current instructions for the exact filler and bottle arrangement.
Space below the faucet matters as much as the bottle itself. Allow room for the filler, the bottle, and your hands, including the movement needed to position and remove everything comfortably. A deep drip tray, low faucet, or shelf can make a setup awkward even when the connection fits. Try the position with your intended bottles before choosing accessories. The place where you’ll close the bottles belongs in that space plan, too.
Large-mouth containers need their own supported sealing arrangement. A growler that looks convenient isn’t automatically the right bottle for this filler. We’d keep the initial purchase focused on the beer bottles you actually want to fill, rather than expecting one included seal to cover every jug in the cupboard.
Keep the accessories tied to a real need
A suitable regulated CO2 connection is part of the setup. Tapcooler offers optional gas adapters, extension tubes, a handsfree clip, and a beer-valve keg connector. These are ways to adapt the tool, not reasons to buy every accessory together. Start with the faucet and gas arrangement you own, then identify the part that solves a specific fit problem.
An extension may be worth considering when the normal filling position is cramped. A keg connection offers another arrangement when filling at the faucet doesn’t suit your space. Compare the complete package with the job you have in mind; the filler, a connector, and a mounting accessory are different purchases. Matching those pieces early is more useful than collecting extras without a plan.
Keep pressure work within the supported instructions. Use appropriate eye protection, look over bottles for damage, and follow the prescribed pressure-release procedure before disconnecting. Secure and handle your gas supply correctly in a well-ventilated space. Those responsibilities are part of choosing counter-pressure equipment, even for a small home setup.
After the last bottle is filled
The compact filler still adds beer-contact parts and seals to your cleaning routine. Plan on the maker’s cleaning and sanitizing directions, then suitable drying and storage. A tool that is pleasant to use also needs to be practical to put away. Keep its small parts together so the next few bottles don’t begin with a hunt around the brewing drawer.
For a quick larger fill to share straightaway, your usual growler routine may already be enough. For separately closed bottles from a compatible keg setup, the Tapcooler has a clearer purpose. Frequent large packaging sessions deserve a look at the whole workstation: bottle handling, closing, cleanup, and any support accessories matter alongside the filler itself. Crown-cap bottles also need matching caps and a suitable capper nearby.
Our buying verdict
The Tapcooler earns a place on our shortlist for sharing kegged beer in individual bottles from an already compatible draft setup. We like the focused idea: keep the tap you enjoy using and add controlled bottle filling when you need it. Settle faucet fit, bottle clearance, and the gas connection first. With those pieces sorted, this is a purposeful addition for taking a few of your own beers beyond the kegerator.