If you buy something through a link in our posts, we may get a small share of the sale.
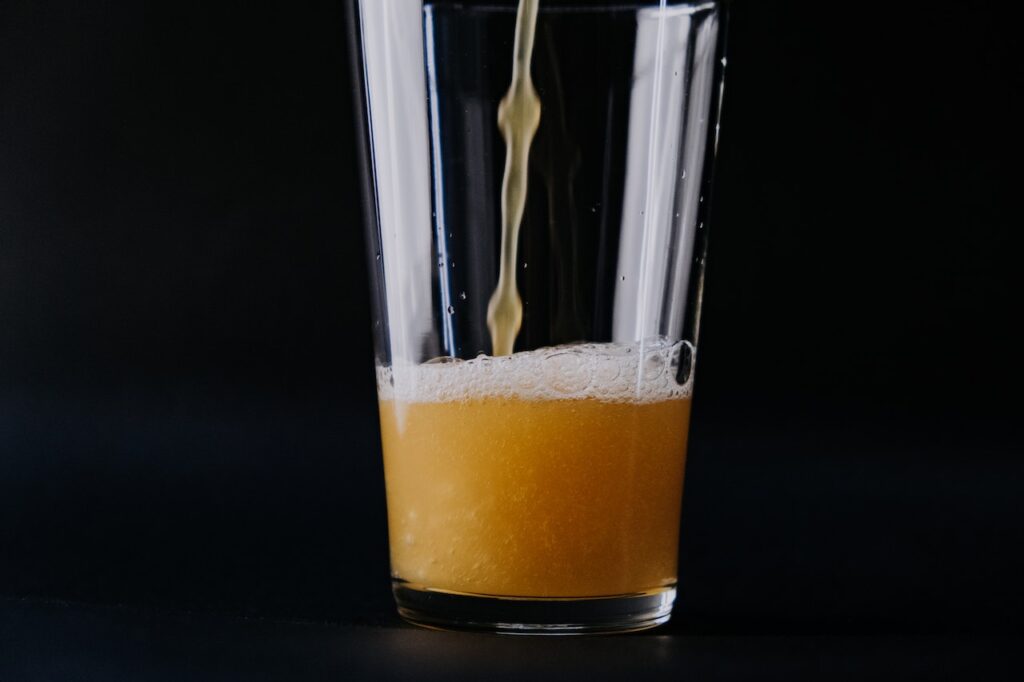
Pitching yeast is the introduction of yeast to wort to start the fermentation process. The process should be done carefully, as improper pitching can lead to poor fermentation and off-flavors in your beer. That’s why every brewer should know how to pitch yeast to make a great beer every time.
Contents
How to Pitch Yeast
The easiest way to pitch yeast is open the package and pour it into the wort. The packet from the store usually contains enough yeast cells for 5 gallons of wort. So, before you open the packet, ensure you have the correct amount of wort in your fermentor. Once you’ve opened the packet, pour the yeast into the wort and give it a good stir.

Rehydrating, or proofing the yeast is another way to ensure a healthy pitch. This involves sprinkling the dry yeast onto warm water (about 105 degrees Fahrenheit) and allowing it to rehydrate for 15-20 minutes. This step is especially important if you use lager yeast, as they tend to be more sensitive to dehydration. After 15-20 minutes, give the rehydrated yeast a good stir, and then add it to your wort.
Another way to add yeast to your wort is by making a starter. A yeast starter is a small batch of wort fermented with a small amount of yeast. This allows the yeast to multiply and acclimate to the wort before being added to the main batch. This is a good method to use if you pitch a large amount of wort or a high-gravity wort.
How to Pitch Different Types of Yeast
Yeast comes in different forms, and each type has its pitching method. You don’t want to use the wrong procedure when pitching yeast, leading to poor fermentation and off-flavors. The following are the different types of yeast and how to pitch each one:
Dry Yeast
Dry yeast is the most common type of yeast used by homebrewers. It’s easy to store and lasts longer than other yeast types. Pitching dry yeast is simple; you only need to open the package and pour it into the wort.
In most cases, the packaging is enough yeast to ferment 5 gallons of wort. However, it’s always best to check the package instructions before pitching. This will ensure you are using the correct amount of yeast for your batch size.
At times, you may need to rehydrate this type of yeast before pitching. This is because dry yeast has a harder time surviving in wort than other types of yeast. The following are simple steps for rehydrating dry yeast:
- Sanitize a small cup or container. You can use a non-rinse sanitizer since it does not need to come in contact with the yeast.
- Boil some water and let it cool to about 95–105 degrees Fahrenheit.
- Pour a small amount of the boiled water into the container. Add the dry yeast and stir gently.
- Let the mixture sit for about 15-20 minutes. The yeast should start to rehydrate and become active.
- Stir the mixture and add it to your wort.
Liquid Yeast
Liquid yeast is a living organism that needs to be handled carefully. This type of yeast is perishable and has a shorter shelf-life than dry yeast. In most cases, you need to rehydrate liquid yeast before using it. This step is important because it activates the yeast and allows it to start reproducing.
This type of yeast can also be added directly to the wort. However, it’s always best to make a starter first. This will ensure the yeast is healthy and viable before pitching. The following are simple steps for making a starter with liquid yeast:
- Break the inner seal on the yeast packet and discard it. Sanitize a small funnel and use it to add the yeast to a clean glass container.
- Shake the container gently to mix the yeast. This will help release the nutrients and oxygen that the yeast needs to survive.
- Fill the container with wort or water that has been boiled and cooled. The wort should be at the same temperature as the yeast.
- Cover the container with a lid or foil and place it in a warm environment. The ideal temperature for fermentation is between 68-72 degrees Fahrenheit.
- Let the starter ferment for 24 hours. You should see activity within 12 hours. The starter is ready to pitch when the yeast has settled to the bottom of the container.
- Discard the wort or water and add the yeast to your fermenter.
Factors to Consider When Pitching Yeast
Before you start pitching yeast, there are a few things you need to take into consideration. You need to understand that yeast is a living organism and will behave differently under different conditions. The following are some of the most important factors to consider when pitching yeast:
Yeast Strain
The first thing you need to consider is the yeast strain. Different yeast strains will behave differently under different conditions. Some strains are more tolerant of high gravity, while others are more tolerant of low temperatures. Choosing a yeast strain appropriate for the beer you are brewing is important.
Also, avoid using old. This can lead to off-flavors and poor fermentation. It also lowers the rate at which the yeast will reproduce. This can significantly impact the fermentation process.
Yeast Pitching Rate
The pitching rate is the amount of yeast you add to the fermenter. This is usually measured in cells per milliliter (cells/mL). The pitching rate is important because it determines the fermentation time and the beer’s final flavor.
One of the most common mistakes homebrewers make is under-pitching the yeast. This can lead to many problems, such as long fermentation times, off-flavors, and poor yeast health. It’s always better to pitch more yeast than you need. This will ensure that the yeast is healthy and viable.
Temperature
The temperature is another important factor to consider when pitching yeast. The ideal temperature for fermentation is between 68-72 degrees Fahrenheit. However, different yeast strains have different temperature tolerances.
Some strains can ferment at lower temperatures, while others require higher temperatures. It’s always best to pitch the yeast at the lower end of the temperature range. This will help prevent the formation of off-flavors.

Original Gravity
The original gravity (OG) is the measure of the sugar content in the wort. The higher the OG, the more sugar is present. This means the yeast has more food to eat and will produce more alcohol. It’s important to pitch the yeast at the correct OG.
Pitching too much yeast can lead to over-fermentation, while pitching too little yeast can lead to under-fermentation, leading to poor quality of your final product.
Frequently Asked Questions
What Does Pitch Your Yeast Mean?
Pitching is adding yeast to the wort to start fermentation and produce alcohol. This is usually done at the beginning of the fermentation process because yeast is a living organism and needs food to survive. The wort provides the yeast with the sugars it needs to eat and produce alcohol.
What Is the Optimal Pitch Rate?
An optimal pitch rate is adding the correct amount of yeast to your fermenter. This is usually measured in cells per milliliter (cells/mL). The pitching rate is important because it determines the fermentation time and the beer’s final flavor. Ideally, you want to pitch at least 6 million healthy yeast cells per milliliter of wort.
Conclusion
Pitching yeast is a critical step in brewing beer. Pitching the yeast at the correct rate, temperature, and original gravity is important. This will ensure that the yeast is healthy and viable and that your beer turns out the way you want it to.
