If you buy something through a link in our posts, we may get a small share of the sale.
The mashing of grist is a crucial part of the brewing process, as it breaks down the starches in the grain. The mashing tun is where this process takes place, and every brewer’s dream is to learn how to make a mashing tun to control the brewing process completely.
Contents
How to Make a Mashing Tun
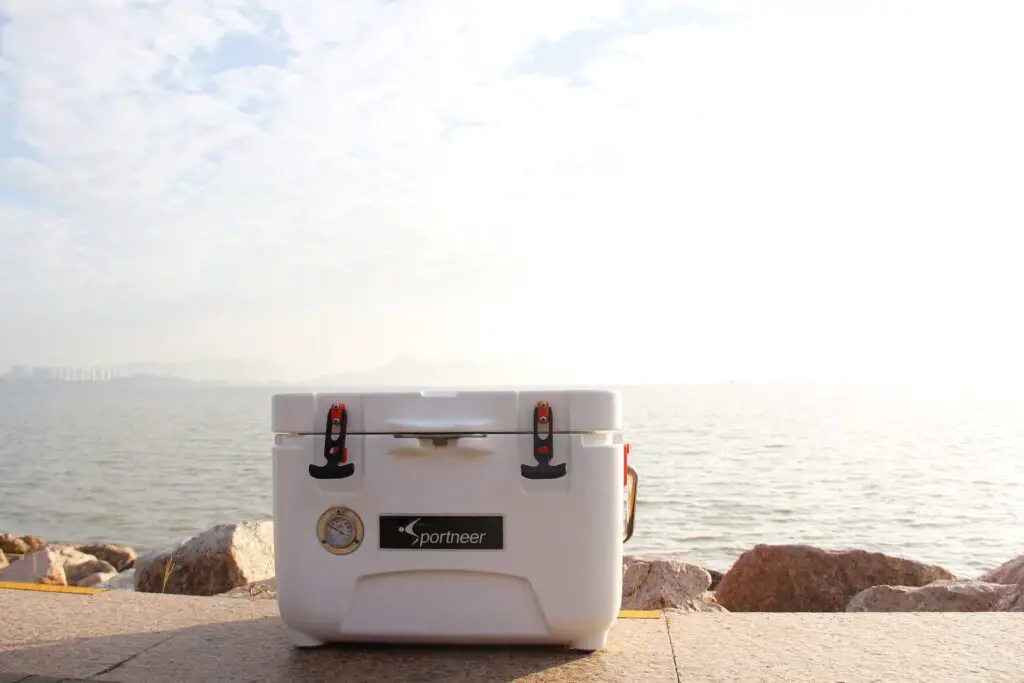
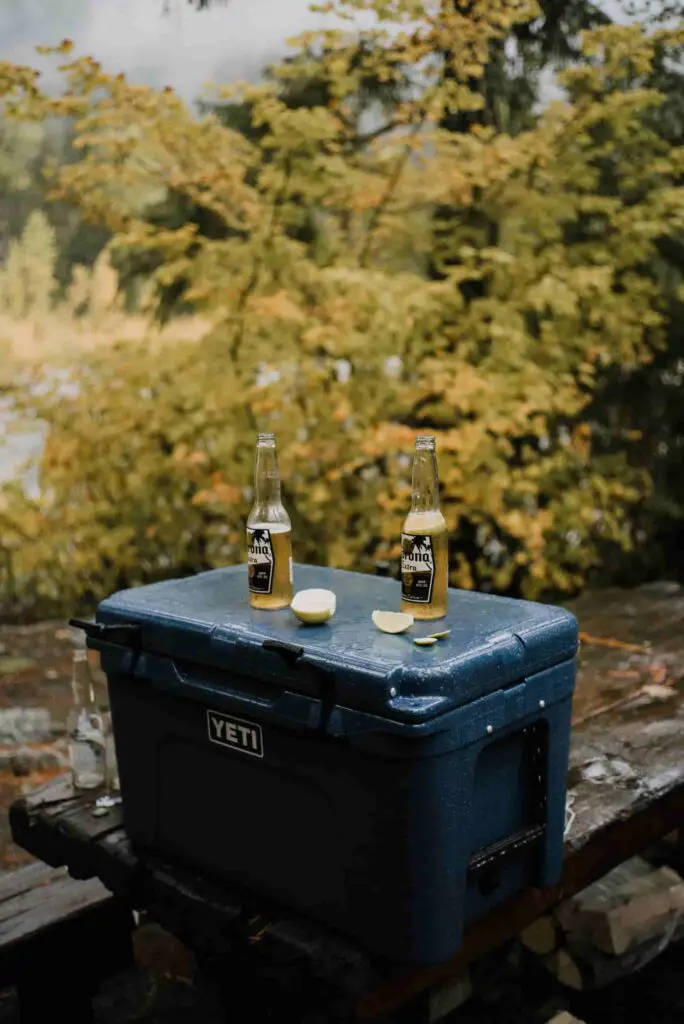
The easiest and cheapest way to make a mashing tun is to buy a picnic cooler and drill a hole in the lid for the thermometer. Ensure you remove the spigot from the picnic cooler. You may need pliers or a wrench to do this. Then, use a food-grade silicone sealant to seal the hole that had the spigot. After the sealant has cured, run a 6-inch vinyl tubing through the sealant, ensuring a few inches hang outside and inside the cooler.
The next thing is to prepare stainless steel braid. This will protect the vinyl tubing from the heat of the mash. Measure out about 3 feet of stainless steel braid and shape it into a big loop. Place the loop inside the cooler, so that one end of the braid is near the outlet tube. Then, attach a nylon valve to the outer end of the braid using a hose clamp.
On the other end of the nylon valve (outside), attach another length of 3-4 feet of vinyl tubing. This will be your dip tube that will connect your mash tun to your brew kettle. The last thing to do is to add a thermometer to the hole you drilled on the lid.
Step-By-Step Instructions
Making this equipment requires some basic plumbing skills. It also needs proper concentration to build a quality product that will serve you better and for a long time. Follow the steps below on how to make your mash tun:
Step 1: Assemble Your Tool and Materials
The first thing you want to do is to make sure that you have all the necessary tools and materials. This will give you easy work of it. The following are some of the things that you must have:
- A picnic cooler or a plastic bucket: In this case, I will use a picnic cooler
- Silicone sealant: This is a crucial part of the mash tun. It will help in sealing the thermometer hole and the spigot valve.
- Vinyl tubing: This will be used as a dip tube to transfer the mash from the tun to the brew kettle
- Thermometer: You will need this to monitor the temperature of the mash
- Nylon valve: This will be used to control the flow of the mash from the tun to the kettle
- Hose clamps: These will be used to secure the vinyl tubing and the braid
- Stainless steel braid: This is used as a heat shield for the vinyl tube
- Scissors: You will need this to cut the vinyl tube
- Drill: This will be used to make a hole in the cooler for the thermometer
- Needle-nosed pliers: This is an optional tool that will come in handy when removing the spigot from the cooler
- Wrench: Just like the needle-nosed pliers, this is an optional tool that you can use to remove the spigot from the cooler
Step 2: Remove the Spigot From the Cooler
The first thing you need to do is to remove the spigot from the cooler. In most cases, the spigots are usually plastic and can easily be removed by hand. However, some are metal, and you may need pliers or a wrench to remove them.
When removing the spigot, be careful not to damage the cooler. If you have difficulty removing it, you can always soak it in hot water for a few minutes to loosen it up.
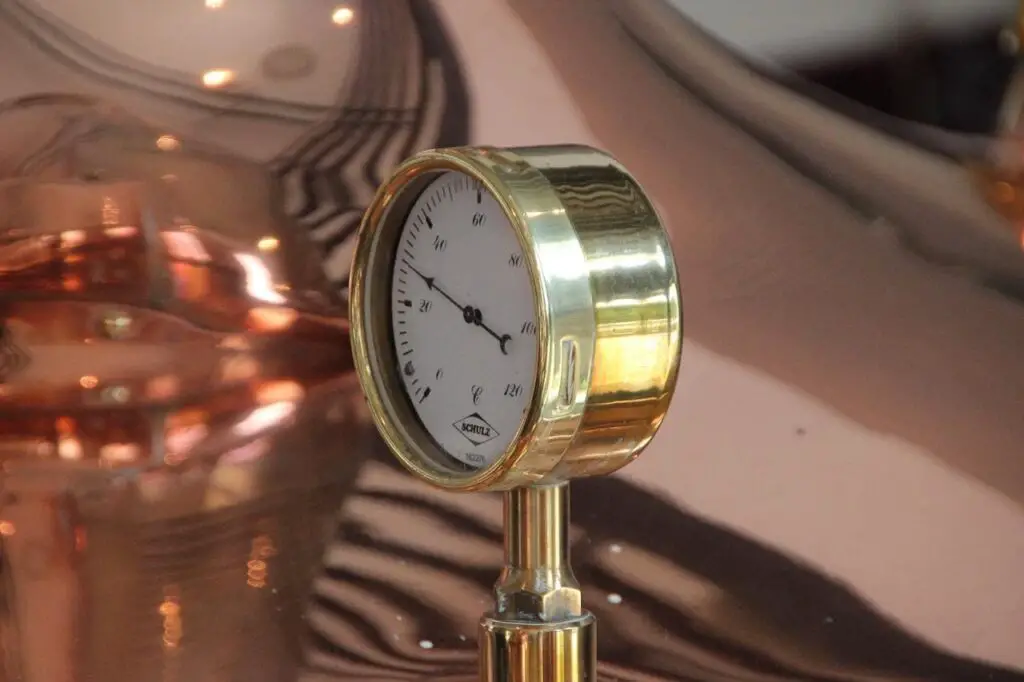
Step 3: Drill a Hole in the Lid for the Thermometer
The next thing to do is drill a hole in the cooler’s lid for the thermometer. The hole should be big enough for the thermometer probe to fit through snugly. Do not make the hole too big as it may affect the cooler’s insulation.
You can decide to fix the thermometer using tape or silicone sealant. In most cases, the tape is the best way to do this as it is easier to remove when needing to calibrate the thermometer or replace it. You can decide to do this at this stage or later when installing the thermometer.
Step 4: Seal the Hole That Had the Spigot
The next thing you want to do is to seal the hole that had the spigot. This is an important step as it will help in preventing any leaks. You can use silicone sealant or any other type of sealant that you have. The silicon should be food-grade and applied around the hole in a generous amount.
Let the sealant dry completely before proceeding to the next step. This may take a few hours, so be patient. You can pour cold water over it to hasten the drying process.
Step 5: Run Vinyl Tubing Through the Sealant
After the sealant has dried, the next thing you want to do is to run the vinyl tubing through it. The tubing should be 6-inch in length and inserted into the hole until it comes out on the other side.
Ensure it hangs both inside and outside the tun. This is an important step as it will help mount the braid later. You don’t want the braid to be in contact with the sides of the cooler, as this will affect its performance.
Step 6: Attach the Stainless Steel Braid
The next step is to attach the stainless steel braid. You want to do this by passing it through the vinyl tube from the inside. The braid should be long enough to extend beyond the end of the tubing.
Use hose clamps to secure the braid in place. Make sure the clamps are tight enough to prevent the braid from moving.
Step 7: Install the Nylon Valve
The next step is to install the nylon valve. Install the valve on the outer part of the vinyl tubing. Ensure the valve is open before proceeding to the next step.
You can use Teflon tape to make a tight seal between the valve and the tubing. This is an important step as it will help in preventing leaks. Also, get rid of any air bubbles that may be present in the tubing.
Step 8: Attach Another Length of 3-4 Feet of Vinyl Tubing
Now that you have the valve on the outer part of the tubing attach another length of 3-4 feet of vinyl tubing. This tubing should be connected to the brewer’s hose. The other end of the tubing should be inserted into the carboy or fermenter.
Now is a good time to check for leaks. Ensure there are no leaks by opening the valve and letting some water flow through the system. Once you are sure there are no leaks, you can proceed to connect your mushing tun and carboy to the brewing system.
Frequently Asked Questions
What Is a Mash Lauter Tun?
A mash lauter tun is a vessel used in brewing beer. It is used to mash the grains and then lauter the wort. The tun has a false bottom that separates the wort from the grains. It also has a spigot used to drain the wort from the tun.
Is a Mash Out Necessary?
No, a mash-out is not necessary. However, it can help in improving the efficiency of the brewing process. A mash-out is usually done by adding hot water to the mash tun. This raises the temperature of the mash and causes the enzymes to break down more starch into sugar.
Conclusion
Making a mashing tun is a relatively easy process. All you need is a cooler, some silicone sealant, and a few other materials. With these materials and a little patience, you can easily make your mashing tun that will help improve the efficiency of your brewing process.
