If you buy something through a link in our posts, we may get a small share of the sale.
To make alcoholic beverages at home, you must know how to make a still. This is because It makes it possible to create unique blends and flavors at a fraction of the cost of purchasing distilled alcohol from a liquor store.
How to Make a Still
The quickest way to make a still is to drill a 1/8-inch hole in the aluminum pot’s lid. Then, place a thermometer in the hole and secure it with glue to keep an eye on the temperature. Ensure that the pot you select is big enough to accommodate the amount of liquid you plan on distilling.
After that, drill another hole in the lid and insert a stainless steel tube. This will serve as the outlet for the alcohol vapor. The hole can be 3/8-inch or 1/2-inch, depending on the tube size. Next, insert a compression fitting to attach the tube to the lid. Ensure you also seal it using Teflon tape or high-temperature silicone sealant.
Then, place a bowl or glass container beneath the tube to catch the distilled alcohol. Ensure the container can hold more than the pot’s capacity to avoid spillage. Now, it is time to prepare the liquid for distillation. If you use fruit, veggies, or grains, mash them up and add water.
Step by Step Instructions
Now that you have the basic knowledge of how to make a still, it is time to get into the nitty-gritty and learn about the step-by-step process. This way, you can create your alcoholic beverages at home without any issues.
Step 1: Assemble Your Equipment
The first step is to gather all of the necessary equipment. You don’t want to be in the middle of the process and realize you’re missing something important. The equipment you’ll need includes:
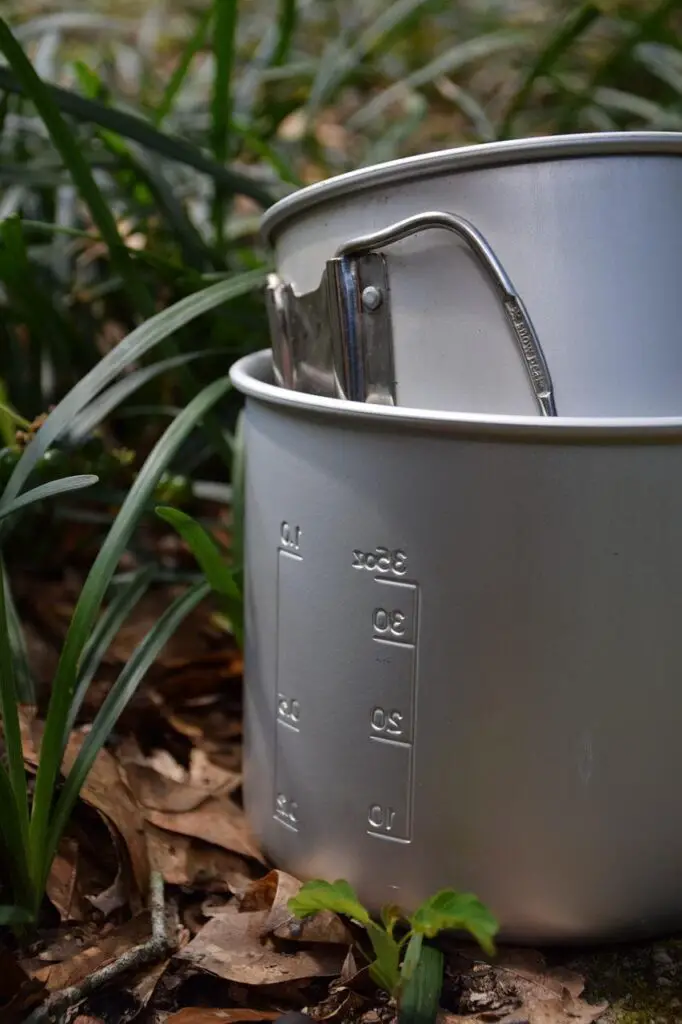
- An aluminum pot or pressure- This is where the distillation occurs. It needs to be big enough to accommodate the amount of liquid you plan on distilling
- A lid for the pot- This will help create a seal so that no liquid escapes
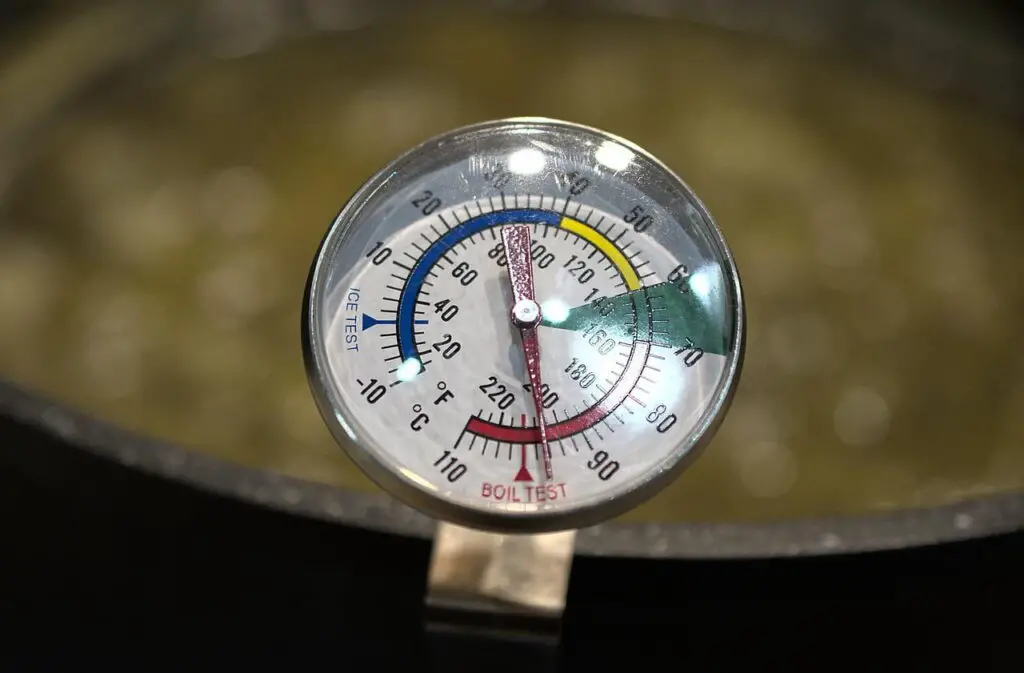
- A cooking thermometer- It is what will help you monitor the temperature of the liquid inside the pot
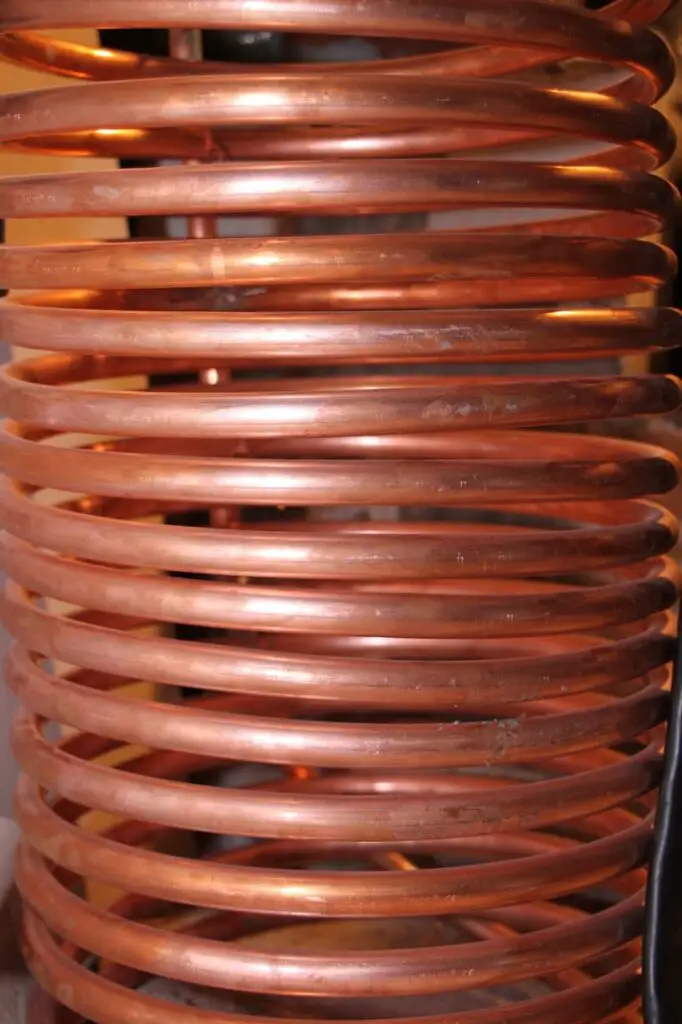
- A copper tubing coil- This is what the alcohol will travel through to be condensed. Ensure that it is long enough to wrap around the pot multiple times
- A collection vessel- This is where the distilled alcohol will be collected. It needs to be airtight.
- Teflon tape or hose clamps- These will be used to secure the copper tubing to the lid of the pot
- Heat source- You can use a stove, hot plate, or campfire. Anything that will allow you to heat the pot.
Step 2: Drill a Hole in the Lid
The next step is to take the pot’s lid and drill a small hole. This will be used to insert the thermometer. The hole should be big enough for the thermometer to fit snugly. However, it should not be so big that liquid can escape.
Step 3: Insert the Thermometer
Once the hole has been drilled, it’s time to insert the thermometer. Make sure that the thermometer is snug so that no liquid can escape. If it’s not snug, you can use Teflon tape or high-temperature silicone sealant to secure it.
At times, the thermometer may come with its clamp. If this is the case, you can use this to secure it. Also, ensure that the thermometer is placed in the pot so that it can easily be read.
Step 4: Drill Another Hole for the Copper Tube
The next step is to drill another hole in the lid. This hole will be used for the copper tubing. The size of the hole will depend on the size of the tubing. For 3/8-inch tubing, the hole should be 1/2 inch. If you’re using 1/2-inch tubing, the hole should be 3/4 inch.
Once the hole has been drilled, it’s time to file it until it’s smooth. This will help ensure that the tubing fits snugly in the hole. It will also reduce injuries because there won’t be any sharp edges.
Step 5: Insert the Copper Tubing
Before you insert the copper tubing, you need to insert a compression fitting. This will help secure the tubing to the lid. The fitting is always screwed into the lid before the tubing is inserted.
Once the fitting is in place, you can insert the copper tubing. Start by inserting it into the compression fitting. If it’s a tight fit, you may need to use a little force. Next, feed the tubing through the hole you drilled in the lid.
At the end of the compression fitting, there is a part called the ferrule. This is what secures the tubing in place. Ensure that the ferrule is screwed on tightly, so the tubing doesn’t come loose.
Step 6: Drill a Hole in the Bucket
The bucket for the mash needs to have a hole drilled in the bottom. This will be used for the tubing to come through. The hole should be about 3/8-inch to 1/2-inch. If it’s too big, the tubing may fall out.
Once the hole has been drilled, insert the second compression fitting. This will be used to secure the tubing in place. Get the tubing and feed it through the fitting and out of the hole. Next, screw it until it’s tight. You can add Teflon tape to the threads to create a better seal.
Step 7: Connect the Tubing to the Mash
The next step is to connect the tubing to the mash. You need to do this before you start distilling. This is because you don’t want any air bubbles in the tubing. To do this, you need to connect one end of the tubing to the mash. This attaches to the bucket’s spigot.
Step 8: Add Ice to the Bucket
Now that you have everything set up, it’s time to start distilling. The first step is to add ice to the bucket. You need to add enough ice so that it covers the mash. This helps cool the gasses as they travel through the tubing.
That is it! You are now ready to start distilling your moonshine. Ensure you sanitize everything before you start. This will help prevent any bacteria from forming. Also, make sure to follow all safety precautions. Moonshine is highly flammable, so be careful.
Frequently Asked Question
What Is the Best Material for a Still?
The best material for a still is copper because the material removes sulfides from the alcohol. This results in a purer final product that has a smoother taste.
What Is the Difference Between a Reflux Still and a Pot Still?
A pot only distills the alcohol once, while reflux distills it multiple times. This results in a much higher purity level for the final product. Therefore, a reflux still is better for making moonshine.
Can You Use a Stainless Steel Pot for Still?
Yes, you can use stainless steel pot. However, it’s not the ideal material. Stainless steel doesn’t remove sulfides from the alcohol, so the final product won’t taste as good. It is also more difficult to clean. Copper is the best material for a still, followed by stainless steel.
What Type of Still Is Used for Vodka?
The type of still used for vodka is a column still. This is because it can produce a higher purity level of alcohol.
Conclusion
Making a still is a relatively simple process. It’s one of the most important parts of distilling moonshine. The process involves drilling a hole in the lid of a bucket, inserting copper tubing, and adding ice. It’s important to use the proper materials so that the final product tastes good.
