If you buy something through a link in our posts, we may get a small share of the sale.
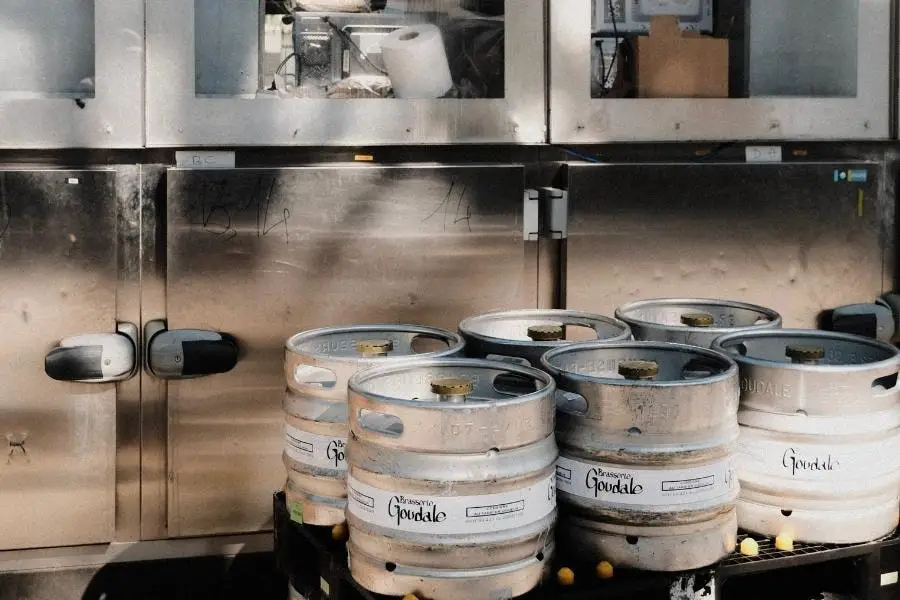
A clean keg is a happy keg, and a happy keg means delicious beer. That is why every brewer should understand how to clean a commercial keg to keep their beer tasting its best. After all, you don’t want your beer to pick up any off-flavors from a dirty keg.
Contents
How to Clean a Commercial Keg
The best way to clean a commercial keg is first to fill the keg with hot water. Ensure the water has reached all surfaces inside the keg by swirling it around. Then, add a cleaning solution such as PBW (Powdered Brewery Wash) or Oxyclean. Be sure to follow the instructions on the solution’s packaging. You don’t want to use too much, as this can be just as bad as not using enough.
Once the solution has been added, let the keg sit for at least 30 minutes. This will give the solution time to loosen any dirt or grime that may be inside the keg. After 30 minutes, empty the keg of the cleaning solution and hot water.
Next, it’s time to rinse the keg. Fill the keg with hot water and swirl it around to ensure all surfaces have been rinsed. Then, empty the keg of the hot water. At this point, you may want to repeat the rinsing process a few times to be sure all traces of the cleaning solution have been removed. Finally, let the keg air dry upside down with the lid off. That is it! You have now successfully cleaned your commercial keg.
Step-By-Step Guide to Cleaning a Commercial Keg
Proper cleaning of the keg requires using the right tools and taking the necessary precautions. This way, you will avoid any cross contamination and potential problems with your beer. The following are the basic steps for cleaning a commercial keg:
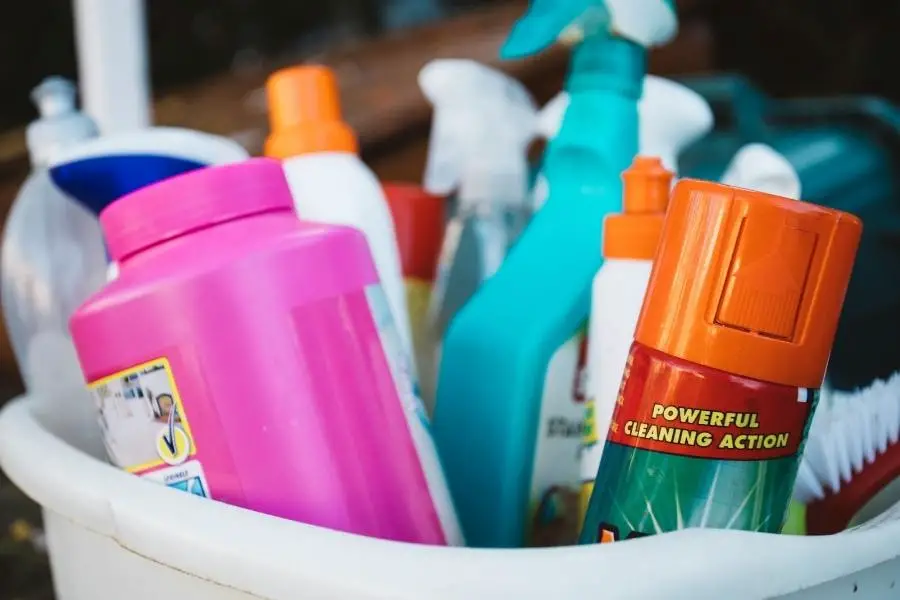
Step 1: Assemble Your Cleaning Supplies
You must have the necessary tools to clean the keg near you. This will reduce the chances of having to search for something while you are in the middle of cleaning. The following is a list of supplies that you will need:
- A cleaning brush: This will help you reach the tight spaces inside the keg. Ensure the brush is the right size for your keg.
- A cleaning hose: This will be used to direct water inside the keg for rinse and to remove any cleaning solution from the keg.
- A bucket: You will need this to catch any water or cleaning solution from the keg.
- Cleaning solution: You can use a commercial solution or make your own. The solution will help remove any build-up inside the keg.
- Sanitizer: This is used to kill any bacteria that may be present in the keg. A no-rinse sanitizer is recommended for this purpose.
- Water: This will be used to rinse the keg after cleaning. Hot or warm water is recommended to help remove any cleaning solution residue.
Step 2: Disassemble the Keg
You will need to disassemble the keg to clean it properly. The following are the steps for disassembling a keg:
- Remove the lid: Use a keg wrench to loosen the lid. You may need to use a little force to remove it. Once the lid is loose, you can remove it by hand.
- Remove the dip tube: The dip tube is located near the center of the keg. Use a keg wrench to loosen it and then remove it by hand.
- Remove the O-ring: The O-ring is located on the edge of the keg lid. Use your fingers to remove it as it may be tight.

Ensure you place these parts where they will not get lost. You will need them when reassembling the keg. You can put them in a bucket or on a towel where you can see them, or no one will step on them.
Step 3: Drain the Keg Completely
Before beginning the cleaning process, ensure the keg is completely drained of any beer. Many people will forget this step, leading to a subpar cleaning of the keg. To drain the keg properly, invert it and allow all of the beer to pour out. It is important that you do this over a sink or some other type of receptacle as there will be a lot of beer.
Step 4: Clean the Keg With Water
Once the keg is drained, you can begin cleaning it with water. It is important to use hot water to help loosen any debris that may be stuck to the sides of the keg. Fill the keg up with hot water and then swish it around, making sure to get the water in all of the nooks and crannies. After you have given the keg a good swishing, empty it.
Next, wash it with a cleaning solution made specifically for kegs. The best solution is PBW, which is a caustic cleaner. It works well with hot water. Fill the keg up with the cleaning solution, and then let it sit for at least 30 minutes. This will give the cleaning solution time to work. Swish the keg around a few times during this time.
After 30 minutes, empty the cleaning solution and then rinse the keg with warm water. You may need to rinse it a few times to ensure all the cleaning solutions are removed and the keg is rinsed completely. You can use a brush to help remove any debris stuck to the keg’s sides.
Step 5: Sanitize the Keg
The next step is to sanitize the keg. This step is important as it will kill any bacteria that may be present in the keg. There are many commercial sanitizers available, or you can make your own.
To sanitize the keg, fill it up with the sanitizer of your choice, and then let it sit for the recommended time by the manufacturer. This is usually around 5 minutes.
After the recommended time has elapsed, empty the sanitizer and rinse the keg with hot water. You may need to rinse it a few times to remove all traces of the sanitizer. Still, you can use a non-rinse sanitizer if you wish. However, it is essential to remove all the sanitizer as it can give the beer a strange flavor if it is left in.
Step 6: Dry and Reassemble the Keg
Once the keg is clean and sanitized, it is essential to dry it. You can do this by inverting the keg and allowing it to drain. You can also use a towel to dry the inside of the keg. It is important that the keg is completely dry before storing it, as any moisture can lead to bacteria growth.
After it is completely dry, you can reassemble the keg. Replace the O-ring, dip tube, and lid in their respective places. Use the keg wrench to tighten them in place. Your keg is now clean and ready to be used. Be sure to clean it after every two weeks of use to ensure the quality of your beer.
Frequently Asked Questions
How Often Do You Clean Kegs?
You should clean your keg after every two weeks of use. However, if you notice that your keg is starting to develop an off-flavor, you should clean it as soon as possible to help prevent the issue from worsening.
Can You Polish a Keg?
Yes, you can polish a keg. Some people use a product called “Keg lube” to help protect the surface of the keg and make it easier to clean. It also helps to prevent the keg from rusting.
Conclusion
A clean keg ensures that your beer tastes fresh and delicious. It makes sense to clean your keg regularly to prevent any off-flavors from developing. Cleaning the keg also ensures it lasts longer and doesn’t develop rust. So, clean your keg every two weeks to keep it in tip-top shape!
