Reviewed and updated: November 10, 2026
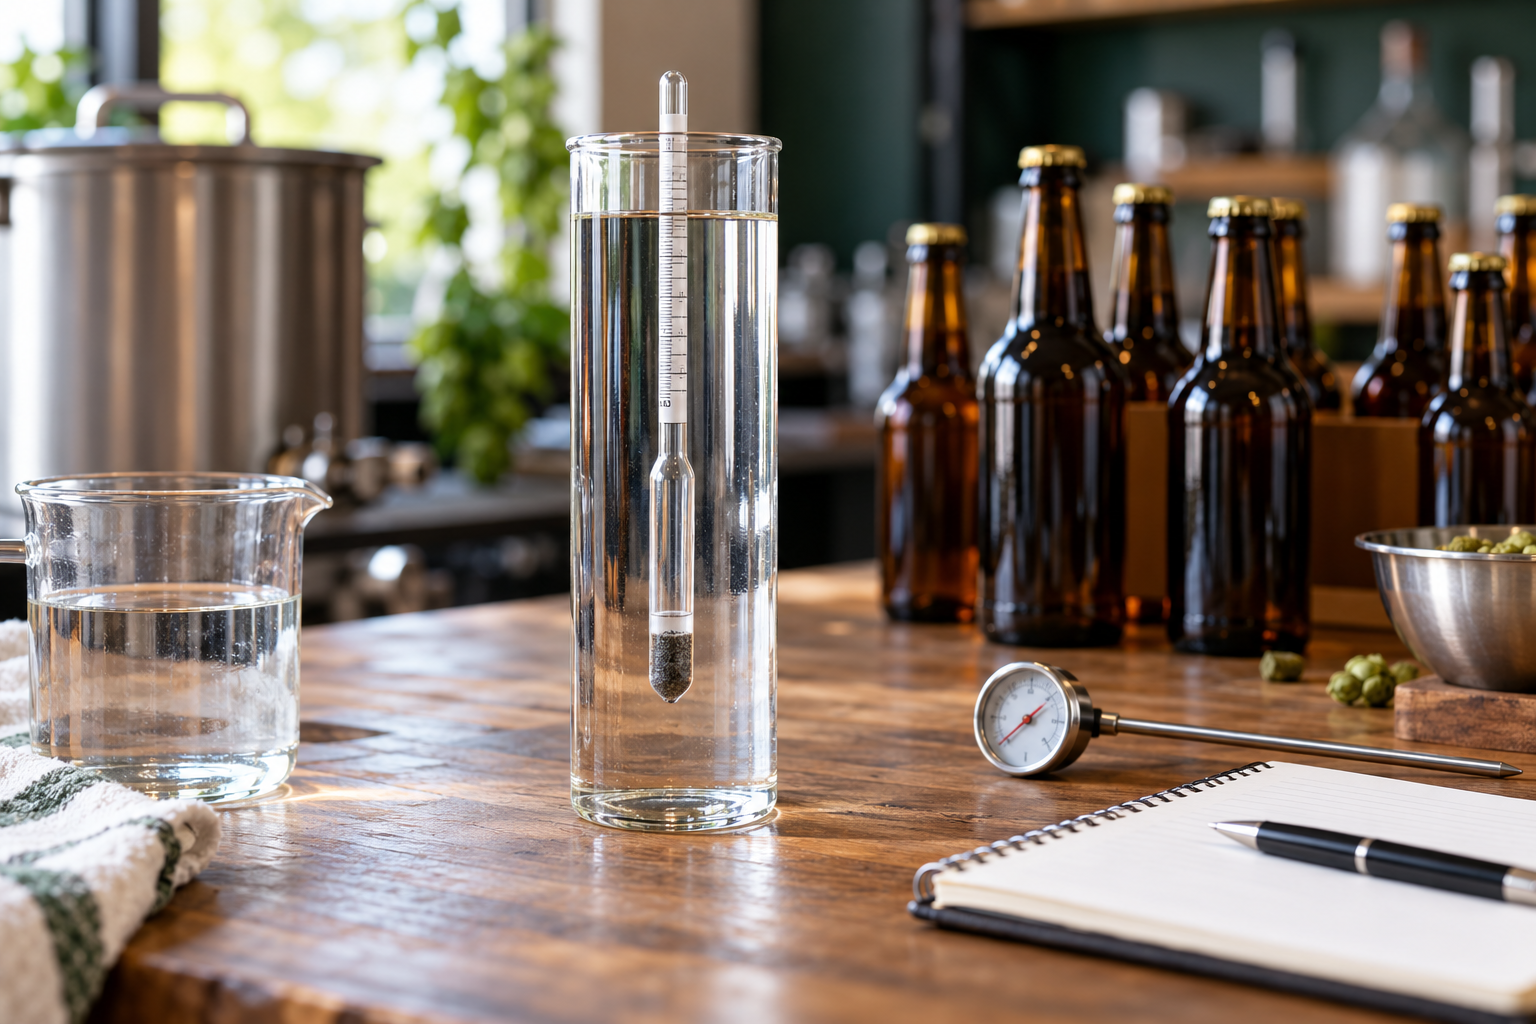
A quick water check is a good way to get to know your hydrometer before asking it about your beer. If the number looks a little off in a sample, you’ll have a better idea whether the beer has surprised you or the instrument needs attention. You don’t need to turn the kitchen into a lab; clean equipment, distilled water, and a little patience do the useful work here.
What you’re checking is how the hydrometer reads at its stated reference temperature. That can reveal a consistent offset, clinging bubbles, or damage before you rely on original and final gravity readings. It doesn’t make an ordinary homebrew instrument a laboratory standard, but it gives you a clearer starting point.
Find the temperature printed on your hydrometer
Look at the scale, packaging, or instructions for the calibration temperature and expected water reading. Many brewing hydrometers use 60°F or 68°F, but don’t guess which one yours needs. This check is about the specific-gravity scale, rather than Brix or potential alcohol.
If the instrument carries several scales, write “specific gravity” beside the number in your notebook. It’s an easy detail to leave out while the tool is in your hand, and a helpful one when you’re reading the note later.
Use distilled water for the reference check. Tap water can be handy for a rough sanity check, but its dissolved minerals can shift the density a little. Let the water and equipment settle near the instrument’s stated temperature instead of trying to interpret a large temperature correction straight away.
You want the simplest comparison you can get: the expected water value and the number you can actually see. Keeping the temperature close to the reference point makes it easier to spot an offset without wondering how much came from warm water.
Give it a clean jar and room to float
Get a clean test jar, distilled water, a reliable thermometer, and somewhere to write the result. The jar needs to be tall and wide enough for the hydrometer to float without touching the bottom or sides. Put it on a level, steady surface where it won’t wobble while you look at the scale.
Wash and rinse the jar and instrument so there’s no residue or sanitizer foam affecting the check. Be gentle with the glass. If you find a crack, chip, loose ballast, or an obviously shifted paper scale, replace the instrument rather than trying to work around the damage with a correction.
Check the water temperature once it’s in the jar. If the result is surprising, the thermometer deserves a thought as well as the hydrometer. A comparison with another trusted thermometer can help you work out which part of the setup needs attention before you blame the float.
Take the reading without rushing it
Lower the hydrometer by the stem and give it a gentle spin to release attached bubbles. Let it settle. The bulb needs clearance underneath, and the stem shouldn’t lean on the wall. If the jar is too narrow, a better-fitting jar is a much easier answer than trying to hold everything in place.
Bring your eyes level with the liquid. Looking down from above can make the number seem different. Follow your instrument’s instructions for reading the meniscus—the little curve where the water meets the glass. In clear water, that commonly means the bottom of the curve.
Write down the number and the temperature together. Then lift the hydrometer, wet it again, and repeat the check at least twice. You’re looking for a repeatable result, not the one reading that happens to land exactly where you hoped it would.
If the numbers wander, look for bubbles, contact with the jar, a moving float, or a change in your eye position. Those are worth sorting out before deciding the instrument itself has an offset. A steady reading makes the next step much easier to understand.
An offset is easier with a worked example
Suppose the instructions say the water should read 1.000, but your checks repeatedly show 0.998 under the right conditions. The instrument is reading 0.002 low in that check. A plain note saying “reads 0.998 in reference water; add 0.002” is more useful than a mysterious plus sign on the case.
Using that example, a displayed wort reading of 1.048 would become 1.050 after the instrument-offset adjustment, before any separate temperature correction. Keep those two adjustments separate in your notes. That saves you from wondering later whether you’ve already allowed for the sample temperature.
Don’t use an offset to excuse damaged glass or a scale that’s moved. A water check is a reference at those conditions, not proof that every point across the instrument’s range is perfect. If something about the tool looks wrong, replacing it is the sensible route.
Make the note useful on brew day
Keep the check date, instrument identity, water temperature, raw reading, and adjustment with the case or brew log. If you own two hydrometers, say which one you checked. A note that made perfect sense on a quiet afternoon can be surprisingly confusing when you’re busy cooling wort.
Our advice on keeping batch notes helps put the reading beside the recipe and the stage when you took it. You’re aiming for a record you can follow when tasting the finished beer, rather than a page of numbers that have lost their context.
Recheck after a drop, an odd reading, or a long spell in storage. Store the hydrometer in a protective tube where it can’t roll off a shelf. Leaving it loose among spoons and brewing fittings is an easy way to turn the next gravity check into a search for a replacement.
Keep the check separate from the busy parts of brewing
Cool wort samples near the instrument’s reference temperature where possible. Hot wort can give a misleading reading, damage the glass, and burn you. Letting the sample cool is a more comfortable habit than trying to rush the reading while juggling other brew-day jobs.
Keep a tested sample separate from the fermenter afterward; don’t return handled liquid to the batch. Cleaning the calibration equipment is about a useful reference reading. Sanitizing equipment that will touch your beer is a separate job. Adding unnecessary chemicals to the reference water won’t make this check more dependable.
Once the water check is done, put the note somewhere obvious and get back to brewing. If you’re preparing for packaging, a well-matched bottle filler has its own fit and cleaning checks. Keeping those little equipment jobs organized means fewer distractions when the beer is ready.
A small check with a useful payoff
The aim is a clean jar, the right water temperature, a freely floating hydrometer, and a reading you can repeat. Write down what happened instead of chasing a perfect-looking number. That gives you a much better starting point when a batch finishes somewhere unexpected—and one less thing to wonder about while you decide what the beer needs next.