Reviewed and updated: November 11, 2026
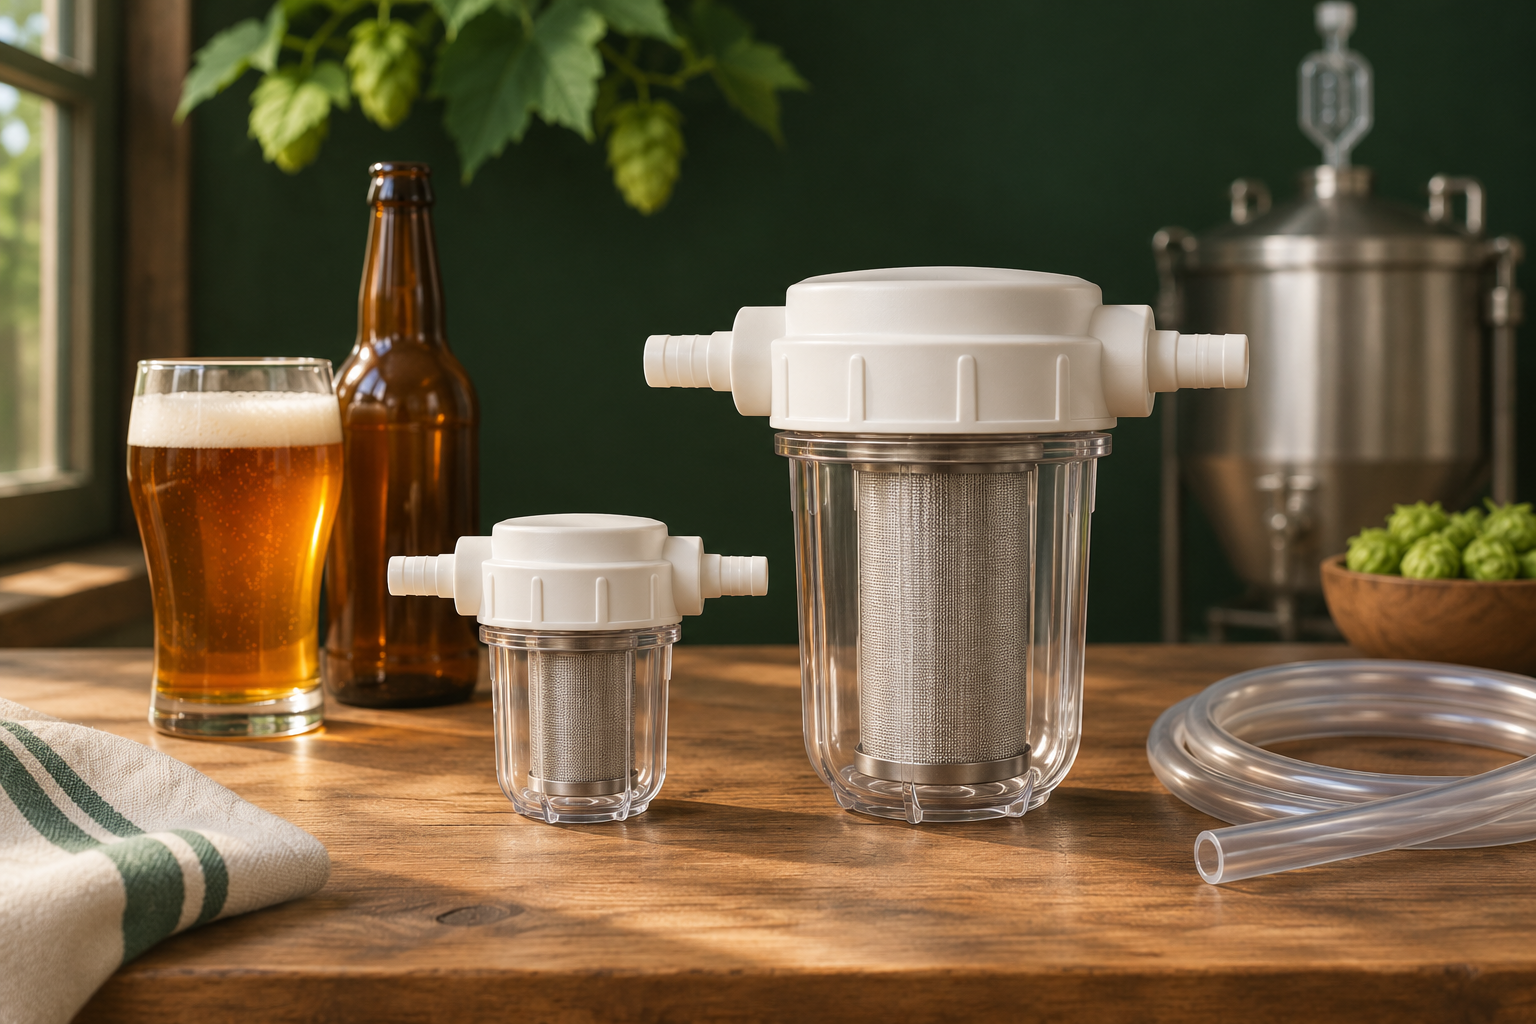
If you’re tired of hop bits following your beer into the keg, the Classic Bouncer and the larger Mac Daddy are worth a look. We’d start with the Classic for ordinary five-gallon batches and a straightforward siphon setup. For bigger batches or the heavily dry-hopped IPA you keep coming back to, we’d lean toward the Mac Daddy’s larger screen area.
The choice is mostly about how much debris you expect and how the filter connects. Both come with the same coarse screen, so buying the larger one doesn’t automatically mean finer filtration. You’re choosing a better fit for your transfers, rather than a shortcut to making every beer brilliantly clear.
Give the filter a job you actually need
Think about your last packaging day. If the awkward part was keeping loose hop material and larger bits out of the receiving vessel, an inline strainer has a useful role. It sits in the transfer path and collects material as the beer passes through, without asking you to build a plate-filter setup around it.
If your beer already transfers cleanly and you’re happy leaving the settled material behind, you may have the job covered. Adding a filter means another item to clean and sanitize. We’d make room for it when it solves a familiar annoyance, especially with beers that leave more loose material to manage.
Neither model needs a pump for an appropriate gravity-fed arrangement. That’s appealing if you like a simple homebrew setup. You still need a stable transfer route, compatible tubing, and enough access to watch what’s happening. A filter should make the day easier, rather than turn a comfortable routine into a collection of extra fittings.
The Classic suits a familiar five-gallon setup
The Classic Bouncer is the smaller option, with fixed 3/8-inch hose barbs. We’d consider it first when that connection already matches your transfer tubing and you usually brew five-gallon batches without a large load of loose hops or fruit. Its smaller body is also easier to work into a modest bottling space.
The useful check is the actual tubing connection, not simply whether the hose looks about right. Look at what runs from your fermenter or siphon to the next vessel, and confirm the fit before ordering. You want a secure, supported connection without stretching an unsuitable hose or leaving the filter hanging where it pulls everything sideways.
For a regular pale ale or another batch with manageable sediment, we’d rather choose the size that fits neatly than buy the biggest housing by default. The Classic’s appeal is that modest, defined job: catching larger material during a transfer you already know how to handle.
Classic Bouncer Inline Beer Filter
The compact option for typical five-gallon batches and compatible 3/8-inch tubing. A sensible starting point when you have a moderate amount of material to strain. This button opens Amazon search results for the complete Classic Bouncer filter.
View on Amazon (paid link)
The Mac Daddy gives hop-heavy beers more room
The Bouncer MD, usually called the Mac Daddy, has more than twice the Classic’s screen area. That gives material more space to collect, which is the reason we’d favor it for larger batches and beers with more loose hop debris. The maker positions it for those jobs, rather than merely as a fancier version of the same small filter.
It also gives you more connection options. The housing has 1/2-inch female NPT ports, and the listed package includes pairs of 3/8-inch and 1/2-inch hose-barb adapters. If your brewery uses the larger tubing, that flexibility can be a more useful difference than the size of the bowl.
The tradeoff is a bigger assembly to accommodate and more fittings to check. Leave room to support it, inspect the bowl, and get to the connections comfortably. If space is tight and your usual beers don’t leave much debris, the smaller Classic may still be the more pleasant thing to live with.
Picture the filter beside your fermenter’s outlet, with the tubing attached. The housing needs room as well as the hose, especially if the outlet sits close to a shelf. That quick look at your working space can settle the size choice more easily than comparing product photos.
Bouncer MD Mac Daddy Inline Beer Filter
The larger option for bigger batches and hop-heavy beers, with more screen area and included 3/8-inch and 1/2-inch hose-barb adapters. Allow room for the larger housing. This button opens Amazon search results for the complete Mac Daddy filter.
View on Amazon (paid link)
Bigger doesn’t mean finer
The standard screens are the same coarse grade: 915 microns, or 20 mesh. The Mac Daddy has more of that screen surface, rather than smaller openings. That’s why we’d size up around batch size and debris, rather than expecting the larger model to polish the beer more finely.
Bouncer says the standard screen leaves yeast available for bottle conditioning while catching larger material, including hop particles and clumps. That makes these a different purchase from a fine polishing or sterile-filtration system. If your aim is a particular level of clarity, decide what kind of material you’re trying to remove before choosing equipment.
Finer replacement screens are separate options, and each filter size needs the matching parts. We’d buy around the standard setup first unless you have a clear reason to change it. A smaller opening can collect different material, but it can also make a debris-heavy transfer harder to keep moving.
When browsing, distinguish a complete filter from replacement screens, bowls, and seals. Similar names can put those parts in the same results. Check the model and included pieces so you receive the filter you meant to add to your brewery.
Make sure the filter fits the way you package
For bottling, the filter belongs in the wider plan of getting finished beer into clean, prepared containers. Keep the receiving end under control and avoid unnecessary splashing. Our advice on reducing oxidation at bottling helps with that part of the job; a filter doesn’t take it over.
For kegging, check the complete route rather than assuming a hose barb connects directly to every keg disconnect. Match the fittings and follow the operating limits of the filter, tubing, vessels, and other parts together. Stop and sort out a blockage instead of increasing pressure to push through it.
There’s also no reason to filter a beer just because it’s naturally hazy. A hop-forward beer you enjoy can still have the appearance it is meant to have. If you’re deciding between removing visible bits and trying to change the beer’s overall haze, our beer-filtration guide is a useful next read.
Easy cleanup matters after the transfer
Both models use a clear bowl and a reusable screen, so inspecting what you’ve collected is part of their appeal. Follow the instructions for disassembly, cleaning, sanitizing, and reassembly. Pay attention to the screen and seal as well as the bowl, and let the parts dry properly for storage.
Keep this purchase focused on ordinary cool-beer transfers. Bouncer’s support advice warns against heat sterilizing these plastic-bodied filters, so don’t treat them like stainless fittings you can boil. Follow the limits for your exact model, and replace damaged or unsuitable parts before the next batch.
Which would we buy?
We’d choose the Classic for a compact, compatible five-gallon setup with a moderate amount to strain. We’d choose the Mac Daddy when larger batches, loose dry hops, or its supplied connection options make the extra screen area useful. Match the filter to the beer you make most often, and it can earn its place by making packaging a little less fiddly.