If you buy something through a link in our posts, we may get a small share of the sale.
In the brewing process, hydrometers are used to measure the specific gravity (SG) of wort and beer to calculate alcohol by volume (ABV). The specific gravity is a ratio of the density of the wort compared to the density of water. Therefore, understanding how to use a hydrometer is crucial.
Contents
How to Use a Hydrometer
To use a hydrometer, retrieve a sample of wort from the brew kettle with a sanitized sampling tube. Place the wort sample in a tall, clear container that is big enough to submerge the hydrometer completely. Gently lower the hydrometer into the wort sample, ensuring it does not touch the sides or bottom of the vessel.
Once the hydrometer has settled on the bottom, spin it a few times to release any air bubbles clinging to the sides. Then, take a reading from the scale on the stem of the hydrometer. The readings should be degrees Plato (°P), specific gravity (SG), or both.
The specific gravity is the number one thing you’re looking for when using a hydrometer and is most commonly used in homebrewing. To calculate the ABV, you must take two readings of the wort’s specific gravity using a hydrometer, the original gravity (OG) and the final gravity (FG). This will help you to understand how much sugar has been converted to alcohol and carbon dioxide.
Step-By-Step Guide
Now that you know the basics of using a hydrometer, it is prudent to go over the process step-by-step. This way, you will be sure to get an accurate reading every time. The following are the steps you should take:
Step 1: Sanitize Your Hydrometer and Sampling Tube
Sanitizing your hydrometer and sampling tube is critical. You do not want to introduce bacteria or wild yeast into your beer. The best way to sanitize this equipment is to use a non-rinse sanitizer. This will ensure that there is no residue left behind that could potentially contaminate your wort or beer.
You can also use sanitizing solutions that must be rinsed off. When using these solutions, you must be extra careful to rinse the equipment thoroughly. Any residual sanitizer could ruin your batch of beer.
Step 2: Take a Wort Sample
Once your hydrometer and sampling tube are sanitized, it is time to take a sample of wort from the brew kettle. Insert the sampling tube into the kettle and let it fill up with wort. Ensure that the sample you take is enough to submerge your hydrometer completely.
At this point, ensure that the temperature of the wort is the same as the temperature listed on your hydrometer. This is important because hydrometers are calibrated to be used at a specific temperature. If the wort is too hot or too cold, the reading will be inaccurate.
Step 3: Place the Wort Sample in a Tall, Clear Container
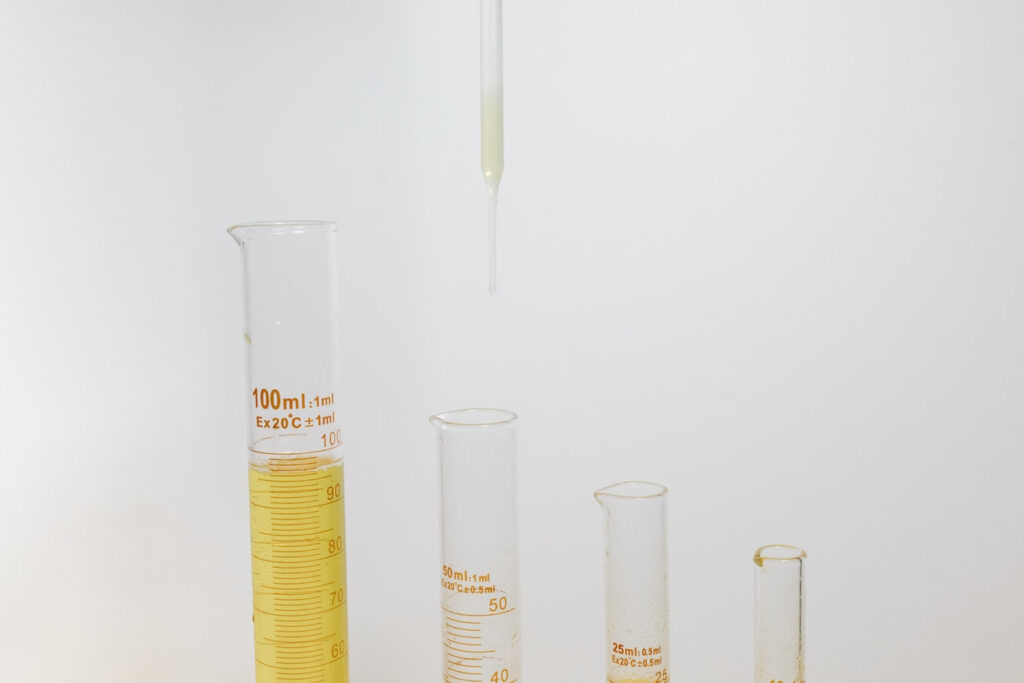
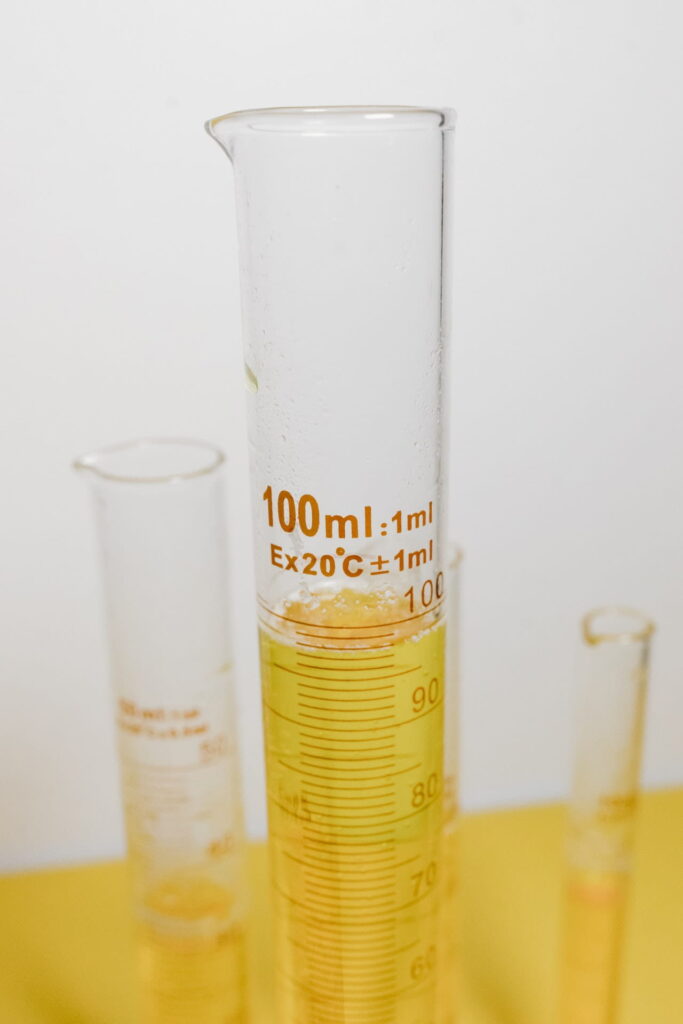
Now that you have your wort sample, it is time to place it in a tall, clear container. This will make taking the hydrometer reading much easier. Make sure that the container is big enough to submerge the hydrometer completely.
Also, ensure the container is clear so you can easily see the hydrometer. A dark-colored container will make it difficult to see the hydrometer and take an accurate reading. Most brewers use a graduated cylinder, which can be purchased at any homebrew shop.
Step 4: Gently Lower the Hydrometer Into the Wort Sample
Holding your sanitized hydrometer in one hand, gently lower it into the wort sample. Be careful not to touch the sides or bottom of the vessel. You don’t want to introduce bacteria into the wort if you plan to ferment it.
Once the hydrometer has settled on the bottom, spin it a few times to release any air bubbles clinging to the sides. Most brewers make the mistake of not spinning the hydrometer and taking the reading too soon. This will give you an inaccurate reading and could ruin your beer batch.
Step 5: Take a Reading From the Scale on the Stem of the Hydrometer
After the hydrometer has settled and you have spun it a few times, take a reading from the scale on the stem. Ensure the reading is where the sample meets the surface of the air.
You will notice a curve at the top of the hydrometer. This is called the meniscus, and it can be tricky to read. The best way to take the reading is to align the surface of the liquid with the lowest part of the curve. This will give you the most accurate reading.
Step 6: Record the Reading
Once you have taken the reading, it is important to record it. You will need this information later to calculate your beer’s alcohol by volume (ABV). Most hydrometers have a specific gravity (SG) scale to calculate the ABV.
The scale is divided into the potential alcohol by volume (PAV) and the Balling scale. The PAV is used to calculate the ABV before fermentation, while the Balling scale is used to calculate the ABV after fermentation.
Step 7: Calculate the Alcohol by Volume (ABV)
Now that you have the basic hydrometer reading, I need to calculate the ABV. You will need to use this basic knowledge to calculate the original gravity (OG) and the final gravity (FG). The procedure is the same. The only difference is that you will take the hydrometer reading before and after fermentation.
Original gravity is the density of the wort before fermentation, while the final gravity is the density of the wort after fermentation. The ABV is calculated by subtracting the final gravity from the original gravity and multiplying the result by 131.25.
For instance, if original gravity (OG) = 1.050, while final gravity (FG) = 1.012, I use the formula ABV= (OG – FG) * 131.25. This will give me an ABV of approximately 5%. Figure 131.25 is a constant used in the formula to convert gravity points into alcohol percentage by volume.
Step 8: Clean and Store the Hydrometer
Once you have finished taking the hydrometer reading and calculating the ABV, it is important to clean and store the hydrometer properly. Sanitize the hydrometer with a sanitizer solution made for brewing.
Factors That May Affect Your Reading
A few factors can affect your hydrometer reading and give you an inaccurate reading. The following are some factors that you need to take into account when taking a hydrometer reading:
- Temperature: Ensure that the temperature ranges between 60-70 degrees Fahrenheit. A higher or lower temperature will give you an inaccurate reading.
- Calibration: Check the calibration of your hydrometer before taking a reading. Most hydrometers come with a built-in calibration tool.
- Bubbles: Be sure to spin the hydrometer a few times before taking a reading. This will release any bubbles that may be clinging to the sides.
- Reading the Hydrometer: Take the reading from the lowest part of the curve (meniscus). This will give you the most accurate reading.
Frequently Asked Questions
Can You Use a Hydrometer to Measure Alcohol in Beer?
Yes, you can use a hydrometer to measure the alcohol content in beer. The density of the beer measures the alcohol content. The more alcohol in the beer, the higher the density.
How Do You Use a Hydrometer Without a Trial Jar?
You can use a glass or plastic cup if you do not have a trial jar. Fill the cup with wort or beer up to the line on the stem. Then, take the hydrometer reading as usual. Ensure that you sanitize the cup before using it.
Conclusion
Using a hydrometer is very simple and only requires a few steps. If you follow the correct procedure, you will get an accurate reading each time and calculate the alcohol content in your beer. Be sure to clean and sanitize the hydrometer after each use to prevent contamination. Cheers!
