If you buy something through a link in our posts, we may get a small share of the sale.
Liquor distillers use the Proof Alcohol technique to determine the ethanol percentage. Depending on the location and State regulations, the brewing market has fantastic test methods alongside the popular hydrometer. Read on to discover this unique process to proof alcohol without a hydrometer at home.
Contents
How to Proof Alcohol Without a Hydrometer
Most brewers use the hydrometer to determine their beer potency. In addition, a refractometer is another outstanding kit to check alcohol levels at home. Other methods from yesteryears include Gunpowder and Shake tests are valid to date.
So, the above methods are great options with similar results for home beginners searching for an alternative to the hydrometer. Today, I will share how to use a refractometer and its benefits in place of a brewing hydrometer.
The Alcohol Proof concept is a vital and now popular process despite its home brewing ban by the US Federal Law. So, before installing any distilling equipment and supplies, check with the location administration. Below is a systematic refractometer test process to follow to realize the beer distilling dream.
Refractometer Test
Using a refractometer to prove alcohol is an indirect distilling method for beer makers. It involves testing the sugar levels of beer before and after fermentation. Hence, this move helps to determine the strength of the product. This idea uses the principle of light refraction through the beer solution.
Both analog and digital refractometers are available, though some consider the latter for its built-in light and thermometer. There’re three great steps to follow for a quality result. These are:
- Calibrating the refractometer
- Determining the specific gravity
- Calculating the alcohol content by volume.
Step 1. To Calibrate the Kit
First, adjust this fantastic testing tool for accuracy and effectiveness. One must wonder how to do it! Here I go!
Relevant Supplies Needed
Before kick starting this process, gather these materials to adjust the test kit.
- Refractometer
- Pipette
- Indoor screwdriver
- Distilled, clean water
- Microfiber, clean cloth
Instructions to Follow
Guidelines are essential in every procedure for accurate results and quality results. Although using a refractometer may give inaccurate tests; it has other tremendous advantages.
Quick Tip #1
For pure results, avoid using tap water to lockout additives.
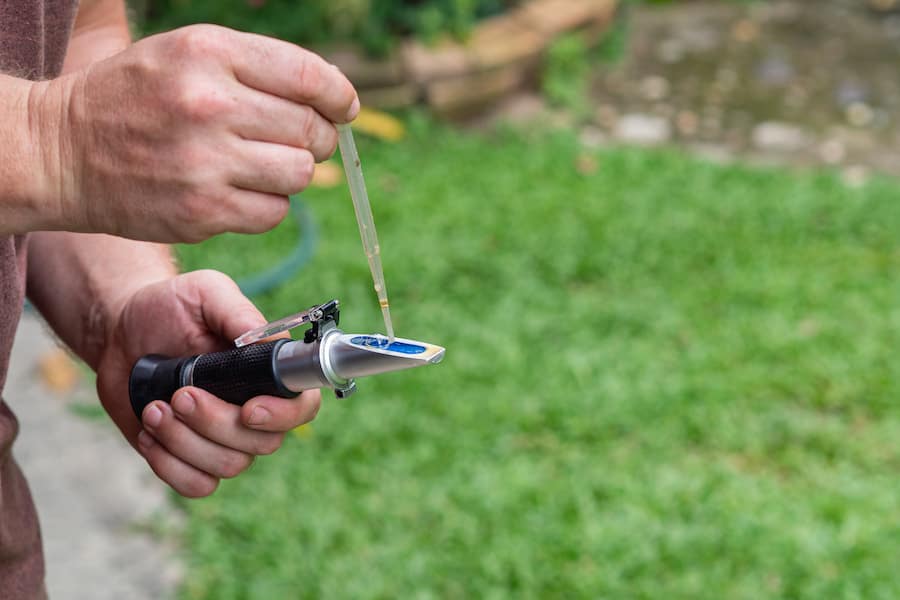
- Put two or three drops of distilled water on the glass and shut the lid.
- Drop some distilled water on the glass underneath the other end, covered with a plastic cap using a pipette. Return the lid to aid in leveling water on the glass.
- Hold up the tool with the glass side facing the light source. A vertical number scale appears with a white section background. Next to the white line, there should be a blue section.
- Take the reading at the point of separation between the white and the blue areas. The zero reading on the scale should align with the horizontal line separating the white and blue sections.
- If the scale doesn’t have the 0 reading, adjust the calibration screw to align with the line separating the blue and white areas. Turn it clockwise if the horizontal line is below the 0 mark, and turn it counterclockwise if the line is above the 0 mark.
- Use a microfiber cloth to wipe off any water left on the glass to prevent breaking or damage. In addition, open the lid to allow the kit to air dry any excess water.
Step 2. Determine the Specific Gravity
This specific gravity stage determines the density of beer relative to water. It drops as the yeast converts wort into alcohol and carbon dioxide during fermentation. Here is a quick guide to performing the test.
Essential Supplies
Collect the materials listed below to enhance fast and easy working. However, ensure these are the right and efficient items required before beginning the course.
- Refractometer
- Sugar
- Distilled, clean water
- Pipette
- Source of light
- Unfermented sample
Simple Instructions to Follow
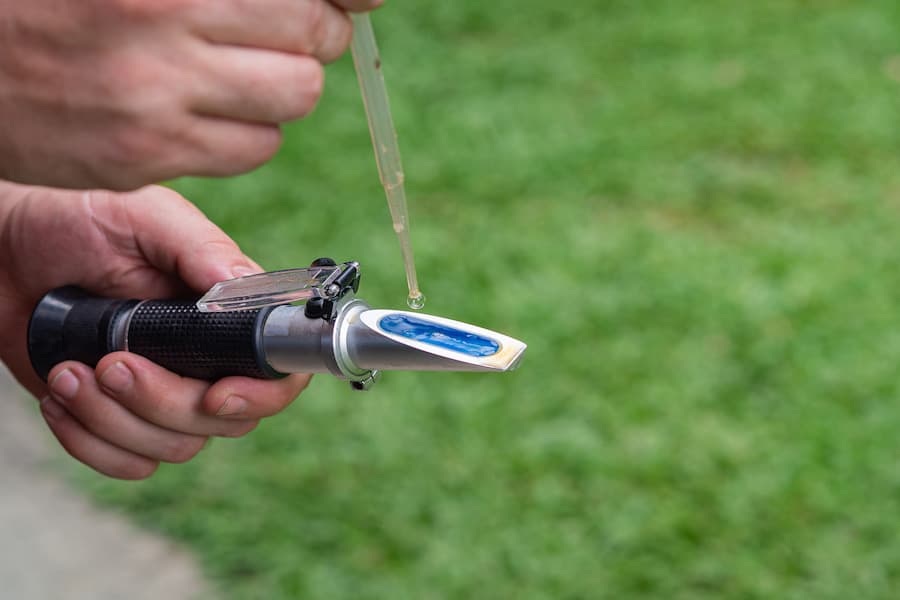
- Add a few drops of unfermented beer to the refractometer.
- Draw a tiny sample of sugar and water starter liquid to the pipette and drop into the glass underneath the plastic lid then close up to spread the liquid.
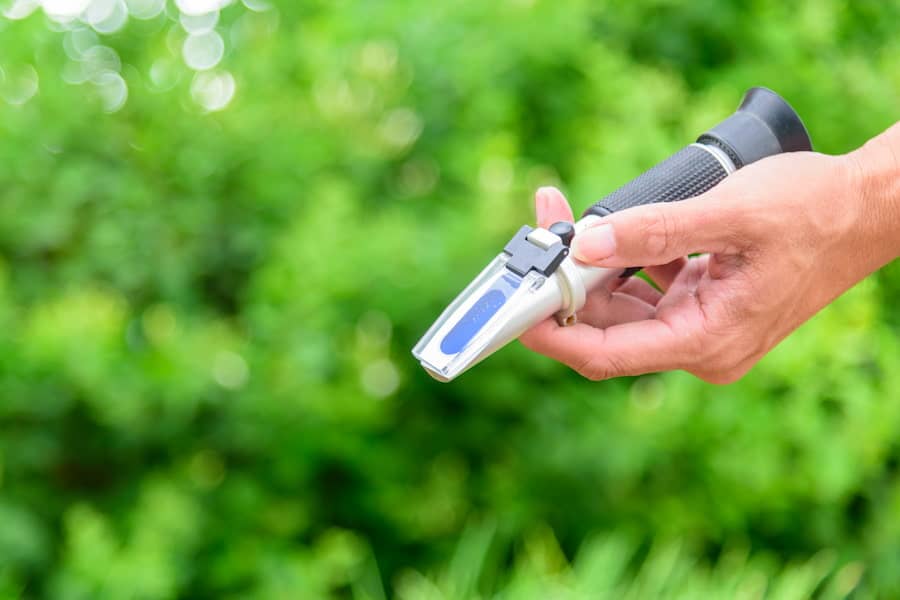
- Hold the kit towards a light source to find the reading on the Brix. Position the lens side near your eyes. If the scale readings are not precise, rotate the refractometer lens to improve focus.
- Locate the Brix % to reveal the horizontal line separating the blue and white sections.
- Allow your sample to settle at room temperature for a while.
- Record the reading when the horizontal line crosses, ranging from 0 to 30%. However, it may vary depending on the kit brand.
Quick Tip #2
Use a digital refractometer to adjust the temperature automatically.
After Two or Three Weeks
The project is ready to begin fermentation after 2-3 weeks. For precise Brix reading, the time is right to perform another reading.
- Add two or three drops of sugar and water starter liquid or wort to the glass and close the glass lid.
- Hold your refractometer against the light source and take the new reading. The reading at this moment should be lower than the initial reading.
- Divide the initial and final readings by the standard correction value, 1.04. For instance, if the initial reading was 10, the equation should be 10/1.04, which gives 9.615.
- Round off the results to the nearest second decimal. In the above example, round off 9.615 to 9.62. Do the same to the final reading and record the new values.
Step 3. Calculate the Alcohol Content by Volume
This stage reveals units of ethanol in 100 units of a solution. Here’s how to do the process.
Materials Required
Collect these materials for fast and easy working.
- Refractometer
- Calculator
- Sugar
- Distilled, clean water
- Pipette
- Unfermented sample
Easy to Follow Guidelines
Input the recorded values into the formula below:
1.0000 – (0.0044993 * IBR) + (0.011774 * FBR) +
(0.00027581 * IBR²) – (0.0012717 * FBR²) – (0.0000072800 * IBR³) + (0.000063293
* FBR³).
Use a calculator for quick and correct figures. Several home-brewing websites have online calculators to input the Brix value for accurate and first-hand results.
Quick Tip #3
IBR represents the rounded initial Brix reading, while FBR is the rounded-off final Brix reading.
- Round off the result to the nearest third decimal point. For instance, if the end is 1.0289, then after rounding off, the last value should be 1.029.
- Use the formula given below to convert the final Brix value.
(IBR /[258.6 – (IBR / 258.2) * 227.1]) + 1.
- The result gives the initial specific gravity to determine the wort’s alcohol content.
- Proceed to calculate the alcohol content of your beer. To do so, use the formula below.
(76.08 *[ISG – FSG] / [1.775 – ISG]) * (FSG / 0.794)
For both scenarios
- The result gives the expected alcohol content after the fermentation process.
- To round off the result, pick the nearest third decimal point.
Quick Tip #4
ISG represents the initial specific gravity, while FSG describes the final specific gravity.
Factors to Consider When Using a Refractometer
The refractometer is a vital and standard test tool in the beverage and food industry. Getting the proper tests favoring this project is easy once one follows these factors.
- Oxidation converts alcohol to aldehydes and carboxylic acids, thus providing incorrect values. So, ensure there is no such process.
- Determine the initial and final gravities of the beer to find the content of sugar added. The bigger the difference, the higher the beer quality.
- Manually calculate any effects on Brix caused by adding sugar to the solution. Add it during step feeding in wine processing or secondary beer formation during the carbonation process. This process helps get the correct value after calculation.
- Leaving the solution for some time before taking the reading because dissolved carbon (iv) Oxide could impact the scale reading.
- Do not add too much sugar during fermentation. It is unhealthy as the yeast has the maximum maltose percentage required for fermentation. Similarly, yeast has the maximum alcohol percentage for fermentation before becoming inactive.
Amazing Benefits of Using a Refractometer
Investing in a home use refractometer brings awesome benefits to an individual’s brewing project. The online market has many brands; hence, picking the right piece for this distillation job is vital. Before grabbing one today, below are compelling advantages of using a refractometer.
- The refractometer is essential for both home and industrial use.
- Its universal feature makes it stand out. For example, it performs several tests like total protein for laboratory and refractometer, zinc sulfate, and Brix refractometer.
- It requires a few sample drops for testing; hence, there’s less wastage.
- One uses a smaller sample taking less time to cool, unlike using larger sample drops.
- This tool is fast and straightforward for beginners to use at home.
- It is a portable, easy to clean, and accessible hand-held apparatus.
- One achieves accurate tests using the correct process and materials.
Conclusion
Today, there’re many effective ways to Proof Alcohol without a hydrometer. The refractometer is one of the best, most effective, and simple testing kits. Use the guidelines mentioned above to discover fantastic ways to use a refractometer. This process produces quality, safe, and original home beer.
