If you buy something through a link in our posts, we may get a small share of the sale.
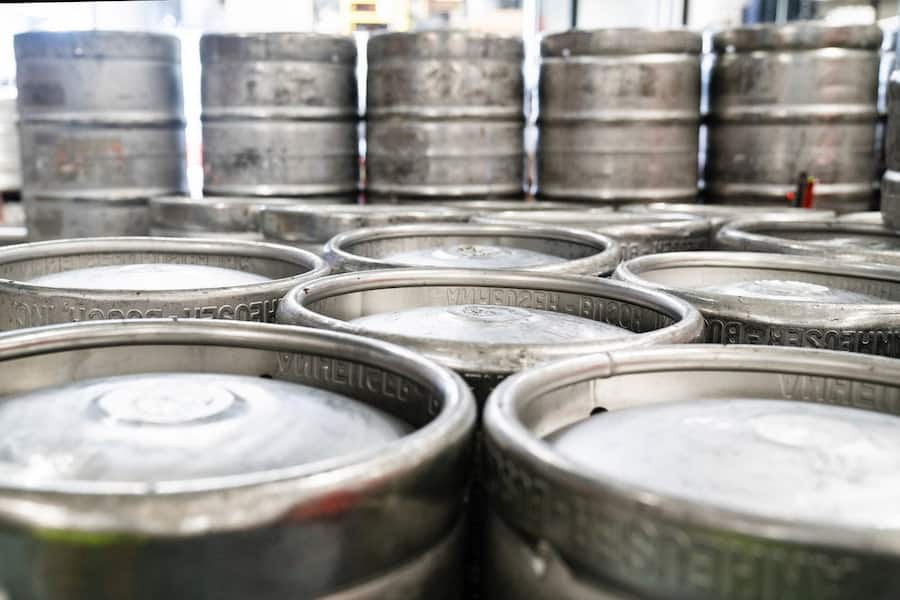
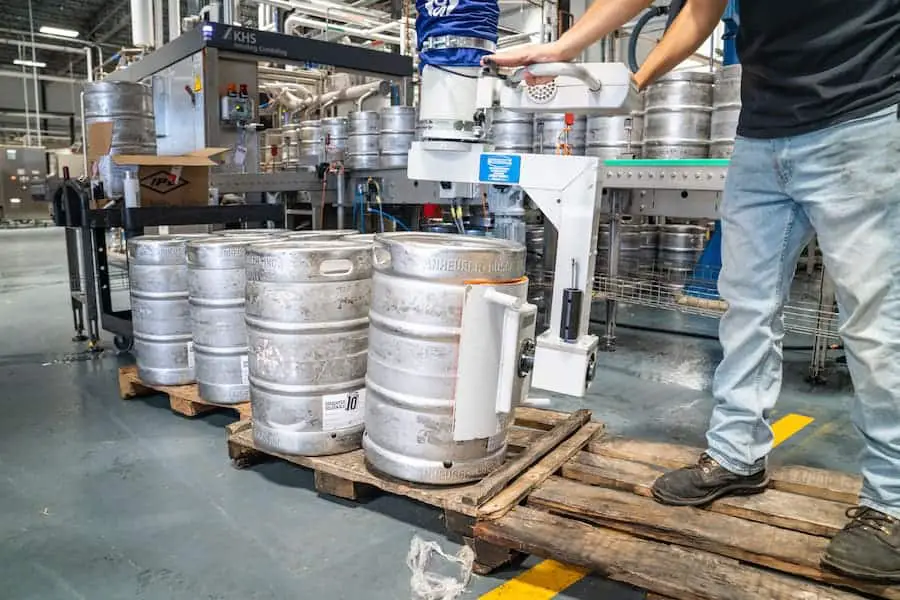
Kegging ensures that the beer maintains its taste besides storing large amounts of beer, up to 50 to 150 12-ounce bottles. Want to learn how to make a still from a beer keg? This guide discusses the entire process in detail.
How to Make a Still From a Beer Keg
To make a still from keg beer, all you need is a beer keg, some tubing, and a heat source. First, you will require tools for cutting, shaping, measuring, and drilling the crafts. These tools include:
- Hack saw
- Hammer
- Metal file
- Tape measure
- Drill

In addition, it will be necessary to have items for the connections, fixers, and air-tightening the beer keg such as:
- Copper or stainless steel pipes
- Couplers and reducers
- Elbows
- Tri-clamp
- Airlock valve, grips, and spanners
Lastly, you will need items for cleaning and sterilizing the beer keg after making the still. They include:
- Sugar
- Yeast
- Lemon
- Dish soap
- Vinegar
Making a Beer Keg Still
Making a still from a beer keg is a huge process requiring much attention. The following steps will assist you in crafting a practical still beer keg.
- Remove the tap valve. First, you have to remove the tap valve to get a space for attaching a column on the top. The valve is held in its place by a retention ring. Remove this ring, then turn the valve to line up the retaining tabs with the valve flange slots. Keep the spear and the valve as you will use later to construct a drain valve in the keg’s bottom.
- Install the ferrule. Installing the ferrule is only necessary when you heat the still using an electric element. However, you can still install it using another heat source if you plan to use a different heat source later. Also, you need to choose a suitable ferrule size to go with, either 1.5 or two inches.
After deciding on the ideal ferrule size, use an appropriate drill bit to make a hole on the keg’s side, as close to the bottom as possible. For a 1.5 inch ferrule, use an 11/8 inch drill bit. Similarly, use a 15/8 inch bit for a two-inch ferrule.
When drilling the hole, consider punching a dimple on the keg’s surface since it is curved. This way, the drill bit will stagnate when drilling. You can create the dimple using a center punch. Drill using an ⅛ inch drill bit and then drill the hole out using a Carbide hole cutter. - Weld the ferrule. Since welding stainless steel is a special skill, you might require professional help if you can’t do it yourself. After welding, the ferrule has been installed, and swapping out the contents will be easy.
- Install the drain valve. A drain valve is very useful since it facilitates the drainage of the backwash out of the still without having to tip or lift it when it is full. Use a ¾ inch drill bit to make a hole, and make a dimple before drilling.
- Assemble the drain. Building the assembly requires the spear you removed in the beginning. Cut to a length that extends from the ¾ inch hole to the keg’s edge: Weld a ¾ inch elbow and a coupler. Fix the elbow onto the ¾ inch opening by welding. Then, thread a ¾ inch ball valve into the coupler. Also, it is essential to weld some feet at the keg’s bottom to hold it off the ground and clear the drain off the ground.
- Install the column. Installing the column is almost the last part of constructing a still from a beer keg. In this step, you can make your two-inch tri-clamp columns or purchase the pre-manufactured ones, which are much more convenient.
- Plumbing. It is now time to add the pipes. You can use a garden hose in this case. Attach the Liebig’s bottom to one side of the hose and the other side into a water supply. Also, attach another hose on the Liebig’s top with the other side connected to a sink. You can use hose clips to hold on to the garden hose.
- Cleaning. You have to ensure that the still is clean to avoid getting a funny-tasting brew. First, clean the still with soapy water and then rinse with plain water. Add water and vinegar into the still and bring the solution to a boil.

Alcohol cleans the still twice using alcohol. You can purchase cheap alcohol for cleaning or make it yourself using the following procedure:
- Use the sterilizer to clean the hydrometer, airlock, fermentation vessel, and spoon
- Boil some water and fill it into the fermentation vessel
- Pour the sugar while adding cold water up to the 20-litre mark. Ensure that the sugar completely dissolves
- Let the solution cool down to 73 to 79 degrees Fahrenheit. Above 79 degrees Fahrenheit, yeast produces ester and methanol, which is dangerous for consumption
Pour this alcohol to fill into the still and run the boiler at full speed until the alcohol starts to drip. Do not drink this alcohol as it contains impurities, thus, unfit for human consumption. That is it! The still is now ready for use for your brewing and kegging purposes.
Safety Measures
It would help if you used a legally purchased keg from a renowned keg company instead of getting it from the pub. Buying from the pub is illegal since kegs are brewery properties.
Also, you should avoid using propane to heat the keg since it is hard to control its temperature. Worse still, propane might be disastrous when it leaks. A safer heating option is the electric heating element found inside the keg.
Lastly, copper might be an ideal metal to use when making the still since it removes all the impurities found in the keg. However, you might also consider using stainless steel since it is not reactive.
Conclusion
That’s it! You have all it takes to construct a still from a beer keg, from removing the tap valve, installing and welding the ferrule, installing the drain valve and column, plumbing, to cleaning and sterilizing the keg. The procedure will certainly assist any novice homebrewer in making a still.

